Are you a meat lover searching for a savory snack? Homemade beef jerky is a fantastic option that’s easier to make than you might think.
Beef jerky is not only a tasty and healthy snack but also a rewarding DIY project. By making your own, you can control the ingredients, customize the flavor, and avoid the preservatives found in many store-bought versions.

The Basics: What You Need to Know
Beef jerky is simply trimmed, lean meat sliced into strips, marinated in an intensely savory liquid, and dried to prevent spoilage. The process is straightforward, but the nuances transform good jerky into great jerky.
Choosing the Right Cut of Beef
When selecting beef for jerky, look for lean cuts with minimal fat, as fat can spoil and reduce the shelf life of the jerky. Top round, also known as London Broil, top round steak, or top blade steak, is an ideal cut for jerky because it is lean, flavorful, and economical.
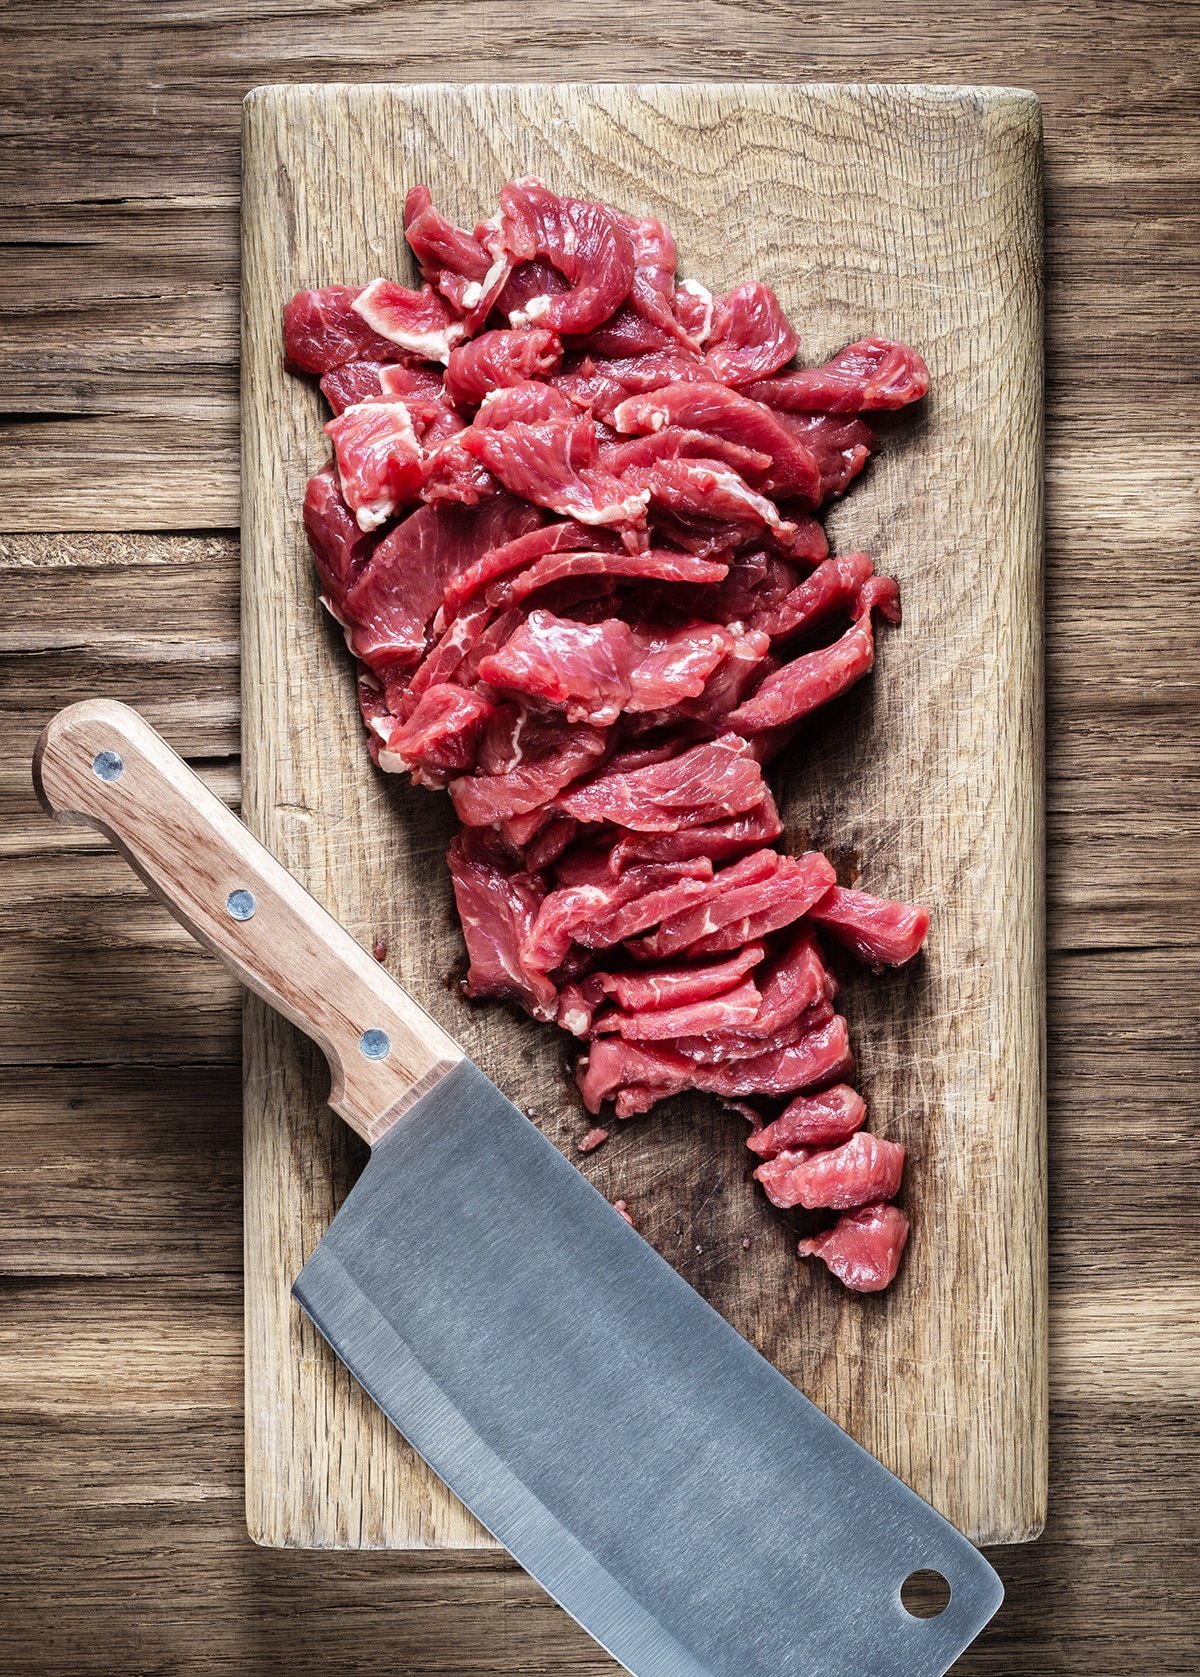
For chewy jerky, slice with the grain of the meat. For more tender jerky, slice across the grain. It is of the utmost importance to cut away any visible fat so the jerky will keep and not spoil.
This post may contain affiliate links. See our disclosure policy for more information.
The Marinade: Flavor’s Frontier
Marinating is where you can get creative and tailor beef jerky to your taste preferences. We like the flavor of Bachan’s Japanese Original Barbecue Sauce in combination with Worcestershire sauce to anchor the flavor of our marinade.
The ingredient list doesn’t make me cringe, and they have a gluten-free version. You can substitute 1/3 cup soy sauce & 3 tablespoons of honey instead. The flavor won’t be as complex, but it will provide the popular salty-sweet flavor combo that works well for beef jerky.
Marinating is where jerky gets its personality. Here’s our favorite marinade:
- 2/3 cup Worcestershire sauce
- 2/3 cup Bachan’s Japanese Original Barbecue Sauce
- 2 tsp freshly ground black pepper
- 2 tsp onion powder
- 1 tsp liquid smoke
- 1 tsp red pepper flakes
Feel free to experiment with ingredients like honey, maple syrup, or even your favorite beer to create a balance of flavors that appeal to you.
TIP: Marinate the beef strips for at least 6 hours, though overnight is best for a more intense flavor.
The Proper Enjoyment
This recipe utilizes an oven and a dehydrator. Why both?
Oven: For safety, we start in the oven at 170°F for 1 hour to be sure the meat has reached a safe temperature quickly. Jerky requires a minimum of 160°F for food safety before the drying process begins. You can complete the process with just your oven by following this oven method, but a dehydrator is more consistent in my opinion.
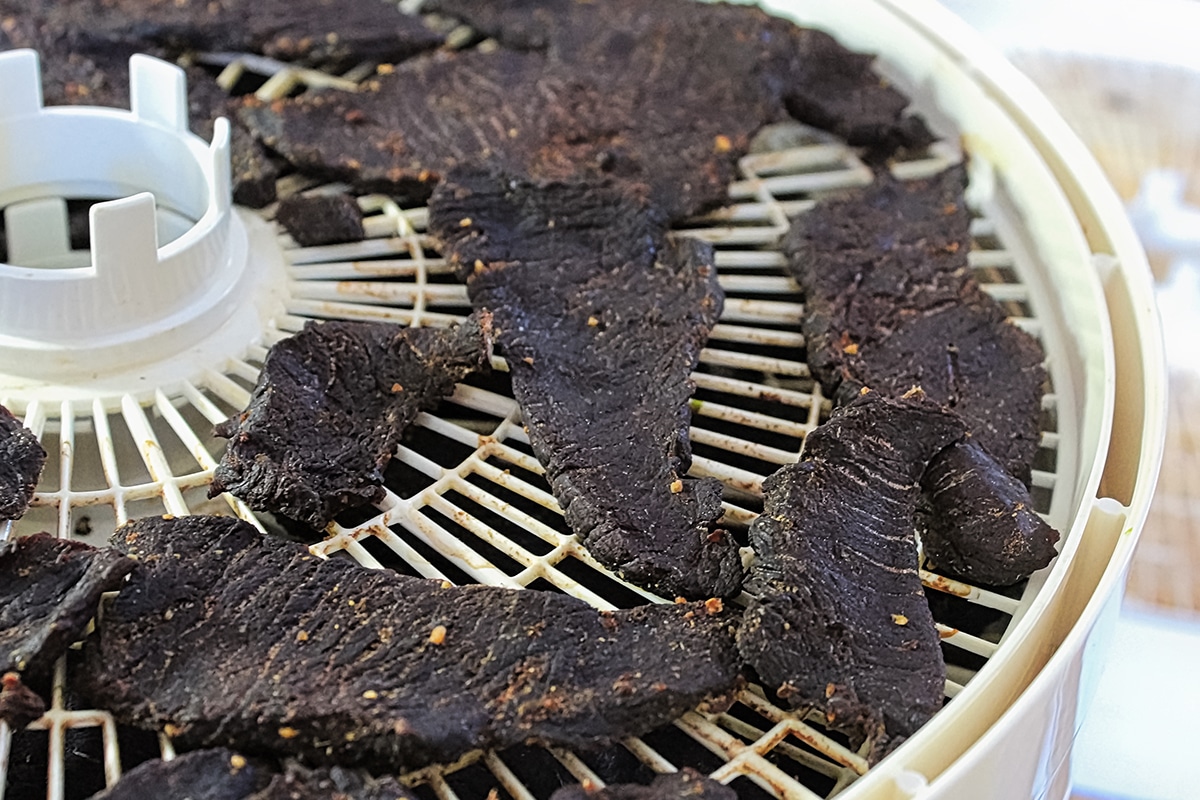
Dehydrator: Transfer it to the dehydrator set at 160° for approximately 6 hours (drying time will depend on the thickness of the slices). I like to blot the jerky with a fresh paper towel to remove any accumulated oil (2-3 times during the process).
I use a simple Nesco American Harvest 4-tray model with one knob for temperature control. It has worked great for fruits, vegetables, herbs, and our favorite Crispy Almonds. There’s just something about a new kitchen appliance that inspires me. It is a little bit like having a new hammer—everything starts to look like a nail. In this case, it is a new dehydrator.
Recipe Step by Step:
- Slice the beef, with the grain, into thin slices; place in a Ziploc bag. Mix the marinade ingredients and pour over the sliced beef, making sure it is well coated. Refrigerate overnight or at least 6 hours. TIP: Put the beef in the freezer for 1 hour to partially freeze; this will make it easier to slice evenly.
- Transfer the beef from the bag and spread it on paper towels. Blot the meat with paper towels to remove as much excess moisture as possible.
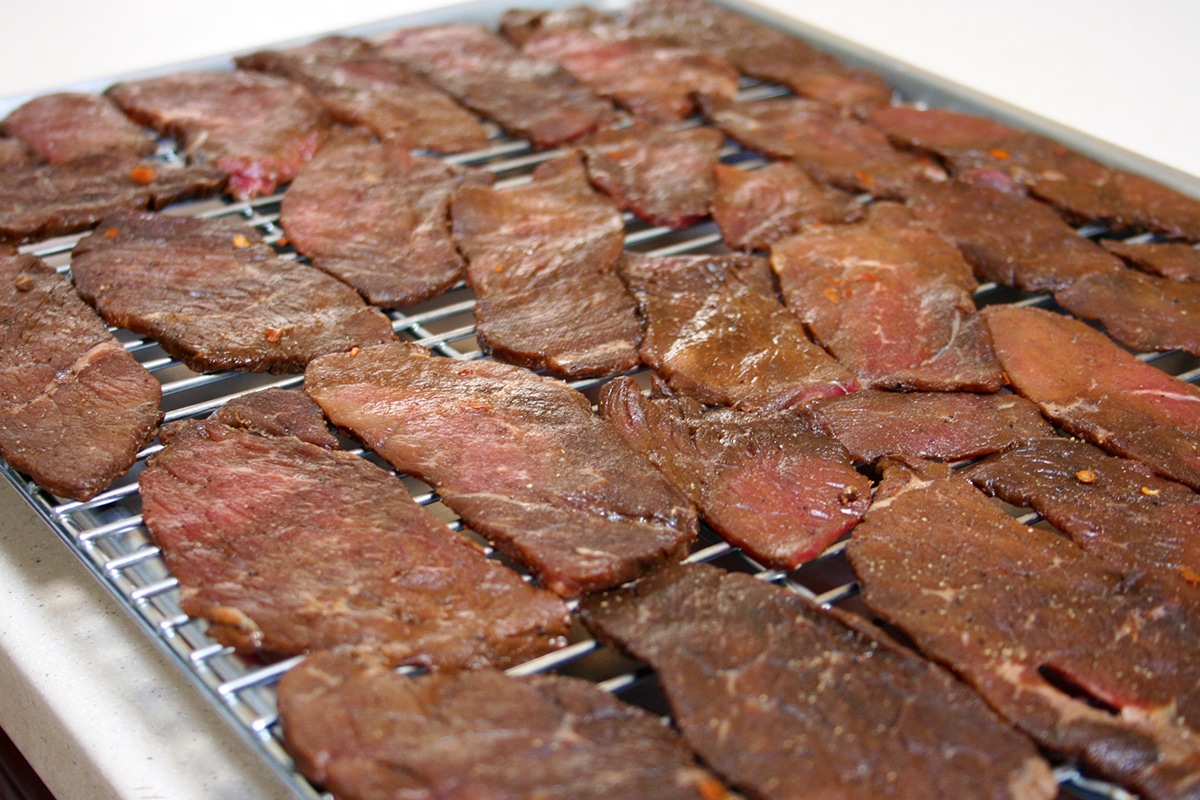
- Arrange the strips of meat on a baking rack set over a baking sheet pan. Place the meat in the oven at 170° for 1 hour to ensure it has reached that temperature. (Jerky requires a minimum of 160° for food safety before the drying process begins.)
- Transfer the meat from the oven and evenly space the beef strips on the dehydrator trays so the meat does not overlap.
- Set the dehydrator at 160°F for approximately 6 hours (drying time will depend on the thickness of the slices). Periodically blot the jerky with a fresh paper towel to remove any accumulated oil (2-3 times during the process).
NOTE: To determine if the jerky is done, let a piece cool to room temperature. Bend it in half. If it bends without cracking, it needs more time. If the jerky cracks or snaps in half, it has dried too long. If it cracks without breaking, it is just right.
Once the jerky is done, wrap it in paper towels and let it stand for a couple of hours. The paper towels will absorb excess oil, which will extend shelf life.
Storing Homemade Beef Jerky
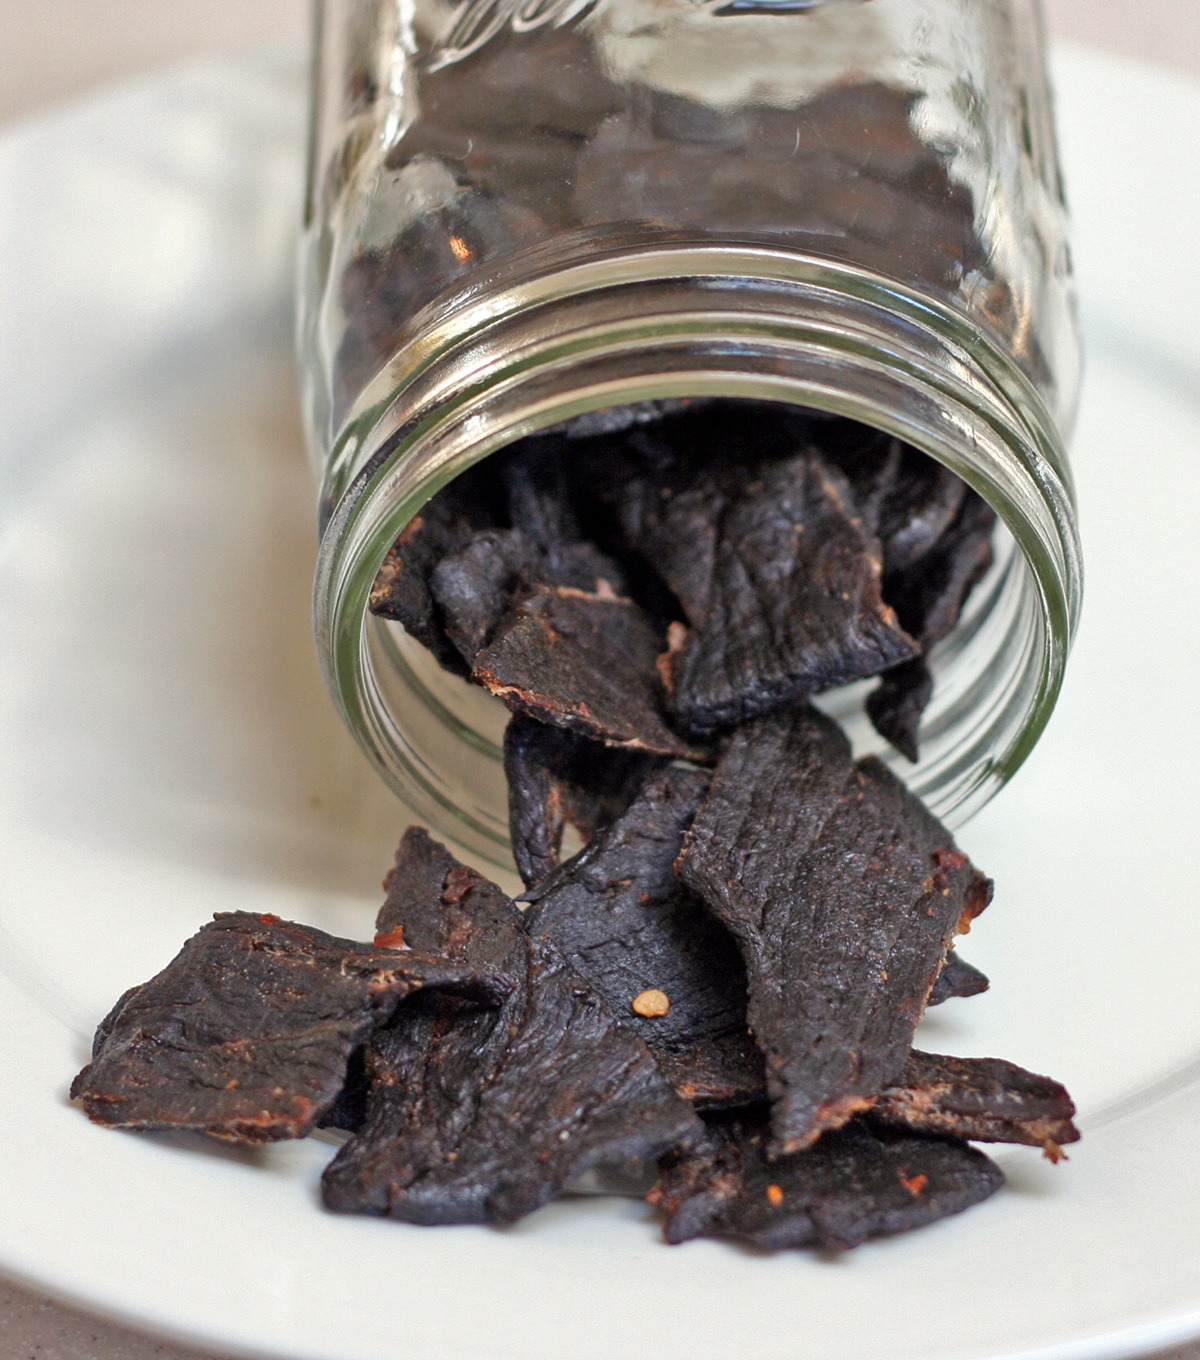
Once your beef jerky is properly dried, it should be stored in an airtight container. If kept in a cool, dry place, homemade jerky lasts several weeks.
For longer storage, consider vacuum sealing, refrigerating, or freezing it.

Beef Jerky
Ingredients
- 2 lbs London broil , or a very lean cut of meat
For The Marinade:
- 2/3 cup Worcestershire sauce
- 2/3 cup Bachan's Japanese Original Barbecue Sauce , or 1/3 cup soy sauce & 3 tbsp honey
- 2 tsp freshly ground black pepper
- 2 tsp onion powder
- 1 tsp liquid smoke
- 1 tsp red pepper flakes
Instructions
- Put beef in freezer for 1 hour to partially freeze; this will make it easier to slice evenly. Slice beef, with the grain, into thin slices; place in a Ziploc bag. Mix the marinade ingredients and pour over the sliced beef, making sure it is well coated. Refrigerate overnight or at least 6 hours.
- Remove beef from the bag and spread out on paper towels. Blot meat with paper towels to remove as much excess moisture as possible. Spread out strips of meat on a baking rack set over a pan. Place meat in the oven at 170° for 1 hour to be sure the meat has reached that temperature. Jerky requires a minimum 160° for food safety before the drying process begins.
- Remove the meat from the oven and evenly space the strips of beef on the dehydrator trays so the meat does not overlap. Set the dehydrator at 160° for approximately 6 hours (drying time will depend on the thickness of the slices). Periodically blot the jerky with a fresh paper towel to remove any oil that accumulates (2-3 times during the process).
- To determine if the jerky is done, let a piece cool to room temperature. Bend it in half. If it bends without cracking, it needs more time. If the jerky cracks or snaps in half, it has dried too long. If it cracks without breaking, it is just right. Once the jerky is done wrap it in paper towels and let it stand for a couple of hours. The paper towels will absorb excess oil, which will extend shelf life.
Jim says
Made this a couple times now, so good!
Susan says
This is like the dehydrator my grandparents used to use to make dried fruit. Wish they had done this with beef jerky now though, haha. I’m sure it would have been delicious. Thanks for sharing this recipe. Will have to try it out!
Judy Purcell says
Oh, I hope you come back and let me know how you like it when you do try it. Thanks for taking the time to say hi!
Mary Schoenecker says
Judy,
Do you think I sould lower the temp in our oven to 160 and use it as a dehydrator? Thanks for your feedback,
Mary
Judy Purcell says
Yes, you can! I cannot get mine to go below 170° so I had to go with the dehydrator, but I have heard from several people with older ovens that will allow them to do so. Let me know how it goes for you.