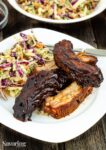
Grilled Baby Back Ribs can be smoky and tender without having an actual smoker!
I’ll show you how to get the most smoke flavor from your grill and then bake the ribs low and slow for tender goodness in the oven.
Don’t just grill ‘em, don’t just throw ‘em in the oven … for the BEST ribs, do both!
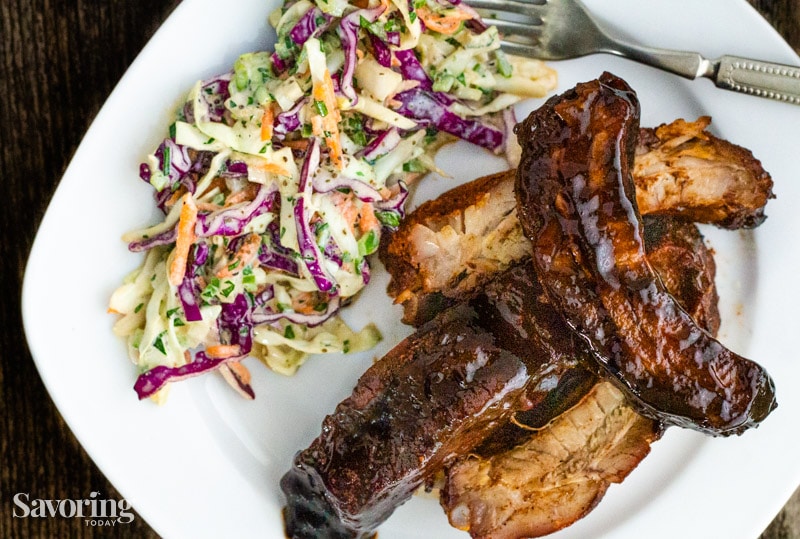
I’ve been making ribs for a long time, and I’ve used every method trying to find the most reliable, delicious way to make them smoky and tender without having to own a smoker.
Baby back ribs have been a staple recipe for the meal prep we do monthly so weeknight meals are super easy. So over the last 25 years, I’ve made ribs more than 100 times.
Our Grilled Ribs with Dry Rub recipe includes all the secrets to making tender, smoky flavored ribs on a charcoal or gas grill. Of course, if you have a smoker, you can use that too!
FIVE steps to tender, flavor-packed grilled ribs
- Prepping the ribs. On the underside of the rack, there is a thin, translucent membrane called silverskin. Silverskin is a connective tissue that can be tough and chewy once cooked. It’s easy to remove and makes a difference in how easy the meat pulls off the bone when you bite into it.
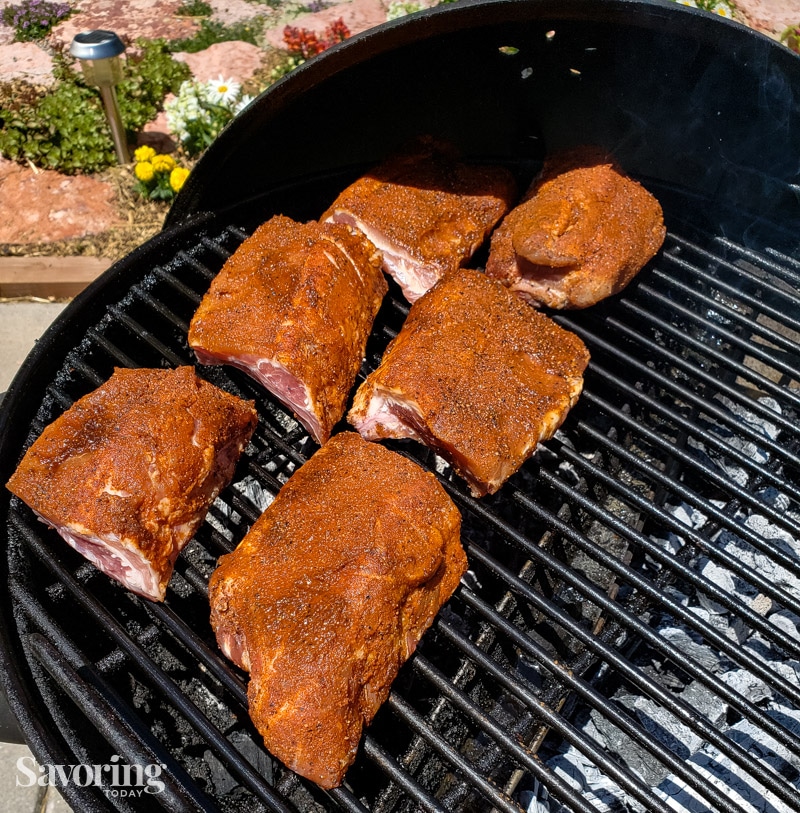
In this video, you can see how to remove the silverskin from pork ribs. - Proper seasoning and time for it to do its work. It’s important to use a dry rub that contains salt or be sure to include salt in your process. Salt is the only thing that penetrates the meat and boosts overall flavor, the rest of the seasonings sit on top and flavor the crust. Allowing time for the rub to be on the meat is also important, so give it at least 4 hours, but overnight is even better.
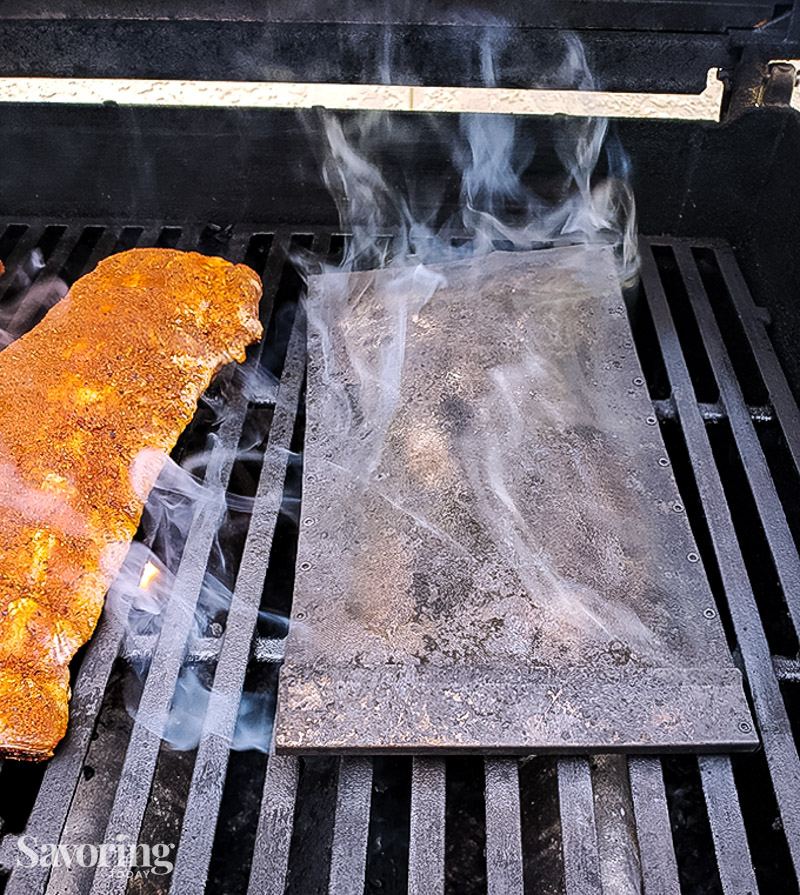
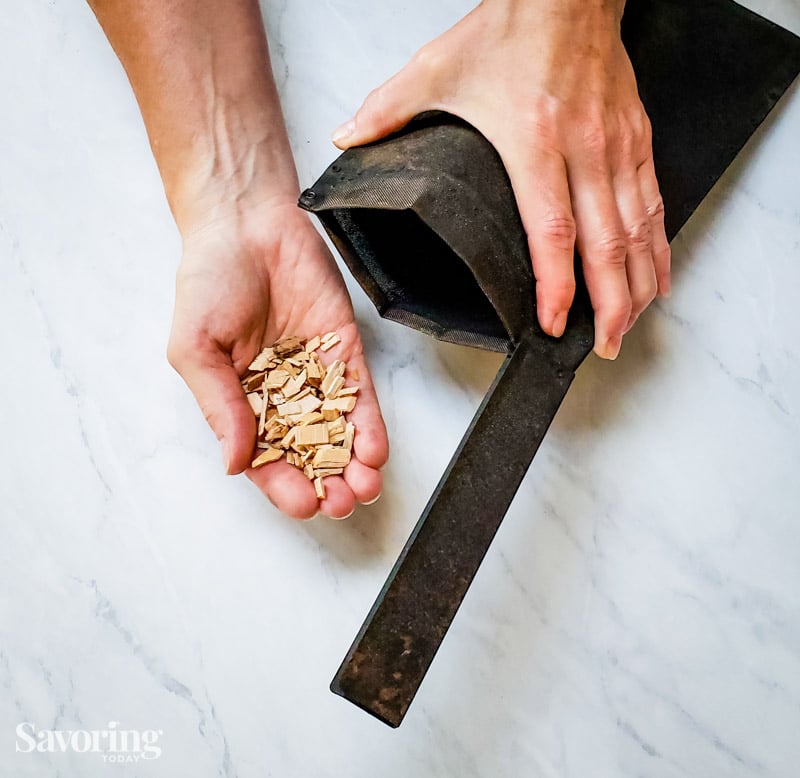
- Get some smoke flavor going with real wood chips by using a stainless steel smoker packet or box on a gas grill. I’ve used the smoker packet on charcoal too, but it is most helpful on gas since there is less smoke flavor produced with gas.
- Finish the ribs low and slow in the oven to give the fat and collagen time to break down and melt into the meat.
- Don’t overcook the ribs. Use an instant-read thermometer to know when they’re done. You want to hit the sweet spot of 190 to 203°F internal temperature.
TIP: Take care to insert the thermometer in the exact center of the thicker part of the meat without hitting the bone.
How are grilled ribs different than barbecue ribs?
Although the terms are used interchangeably, grilling is grilling and barbecue is smoking, they are not the same thing. Grilling is intended for quick cooking (usually less than 45 minutes) with higher temperatures (above 325°F) and barbecue is intended for longer cook time (more than 45 minutes up to 2 days) with lower temps (usually under 325°F) and done with a smoker.
So if you want barbecued ribs, you’re doing that on a smoker.
This recipe is for those who have a gas or charcoal grill and want to add smoked flavor before slow-cooking the ribs in the oven.
This post may contain affiliate links. See our disclosure policy for more information.
The BEST way to get smoke flavor with a grill to oven method
1. Grill the ribs before baking so the grilled flavor gets locked in while they finish in the oven.
2. Add water—an inch or two of water in a small pan placed directly over the heat helps smoke flavor cling to the meat. If there’s no room for the water pan, use a spray bottle with apple juice, beer, or chicken broth to moisten the surface of the meat.
3. Add real hardwood chips. Wood chips smolder adding a smokier flavor than grills can produce alone. I use a stainless steel smoking pouch that is easy to use and works great! Grill manufacturers often have special baskets or other accessories for adding wood chips. Note: Only use food-safe wood chips; NEVER use wood scraps or treated lumber.
PRO TIP: Used wood pellets intended for smokers instead of wood chips.
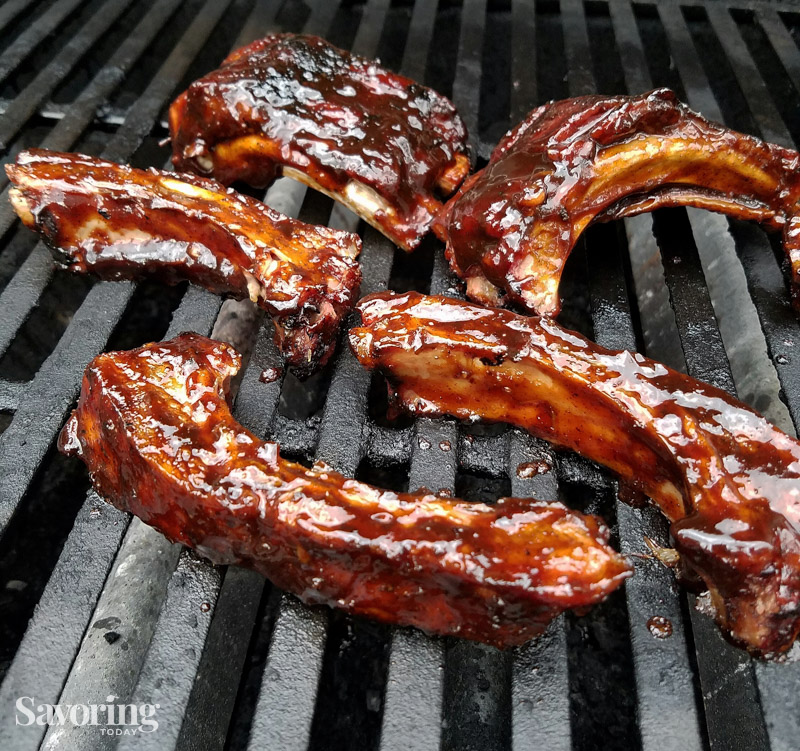
How long does it take to grill baby back ribs?
To get a nice smoky flavor on ribs, grill for 30-40 minutes over indirect heat before transferring to the oven or pressure cooker. The oven method will take about 3 hours, a pressure cooker will take 1 hour to finish cooking the ribs.
How to grill ribs fast?
Grilled baby back ribs are a super-fast meal once you have them pre-cooked (now I’m letting my real secret out!).
Pork ribs have connective tissue that needs to be cooked low and slow for hours (depending on the amount).
This means there is no way to get tender grilled baby back ribs fast if they are raw. By the way, I consider fast to be less than 30 minutes.
Two ways to get ribs on the table fast-er.
- Make a larger batch, like 2 or 3 large racks at a time, and freeze them. This saves cooking time overall and means you’ll have ribs ready for dinner in under 15 minutes when you need them. This is my gold standard and what I teach people to do in our monthly cooking meal prep course!
- Use a pressure cooker instead of the oven baking. This will still take a solid hour, including coming to pressure and releasing the pressure, but it still saves time.
Note: Instant Pot pressure cookers tend to be small so this is best if you are cooking a single rack or two smaller racks of ribs. You also won’t be able to check the ribs for doneness in the process.
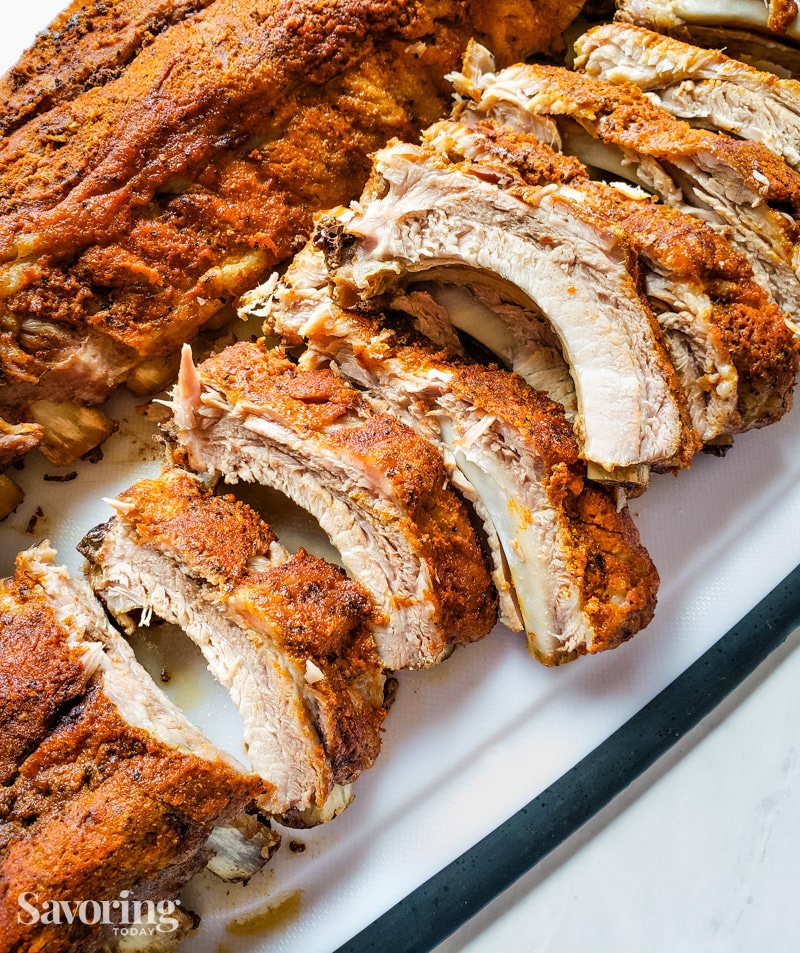
How to know when ribs are done?
People talk a lot about “fall off the bone” tender ribs, but if the meat is falling off the bone, it’s actually overcooked. The goal is to have tender ribs that give way when you bite into them but still have a meaty chew.
- Use an instant-read thermometer and also sink a fork into the thickest part of the meat to test how easy it is to pull the meat away from the bone (remember, you don’t want the meat just falling off). I always use a thermometer when grilling!
There is a sweet spot of 190 to 203°F (internal temperature) when the fats and collagen melts around the meat creating a juicy, more tender result. This is well beyond the 145°F temp the USDA declares ribs to be “done”. If you stop cooking ribs at that temp, you’ll still have tough ribs. According to Amazing Ribs, there are at least six ways to test ribs for doneness.
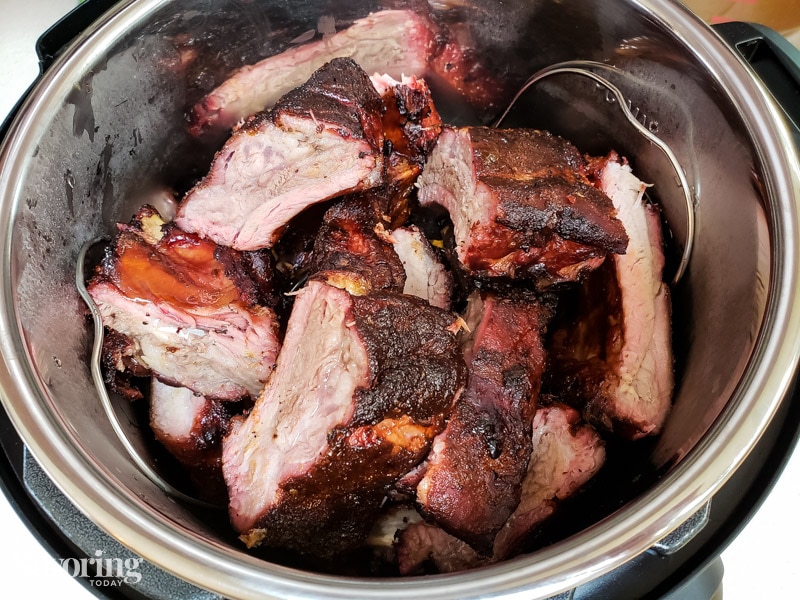
Can I use an InstantPot instead of the oven?
Yes, you can use an InstantPot to finish the ribs instead of baking them in the oven.
The drawback to using a pressure cooker is they are not very big and it will limit the number of racks of ribs you can cook at one time. When I make ribs, I cook 2-3 large racks which I can easily fit in my roasting pan, so I can freeze them for fast, easy dinners.
The other downside is you cannot test the rib temperature while it’s cooking, so cooking time is a little bit of a guess.
Adjust the recipe for a pressure cooker:
- It takes about 1 hour to finish the ribs this way—15 minutes to come to pressure, 30 minutes of cooking time, and 15 minutes for a natural release.
- You will also adjust the liquid to using only 1 CUP of beer when using a pressure cooker to finish the ribs.
Can I finish the ribs in a slow cooker instead of the oven?
Yes, you can use a crockpot to finish cooking the ribs after grilling. Like using a pressure cooker, this can limit the number of ribs if you’re trying to cook a larger batch. However, a crockpot does allow you to lift the lid and check the internal temperature of the ribs, which means less guessing on cook time.
A word of caution: Too often meat is set to cook for too long and overcooked when using a slow cooker because people think of it as a “set and forget” appliance. It is important to monitor the ribs for doneness and is also important to not add as much liquid so the meat doesn’t boil.
Adjust the recipe for a slow cooker:
- Cook ribs on low for 5-6 hours or on high for 3-4; this will vary based on the cooker itself. My own slow cooker runs hotter than any I’ve ever had before. If you know your appliance, you’ll have a better idea of the timing. And ultimately, you want to check the doneness with an instant-read thermometer for best results.
- You will also adjust the liquid to using only 1 CUP of beer when using a slow cooker to finish the ribs.
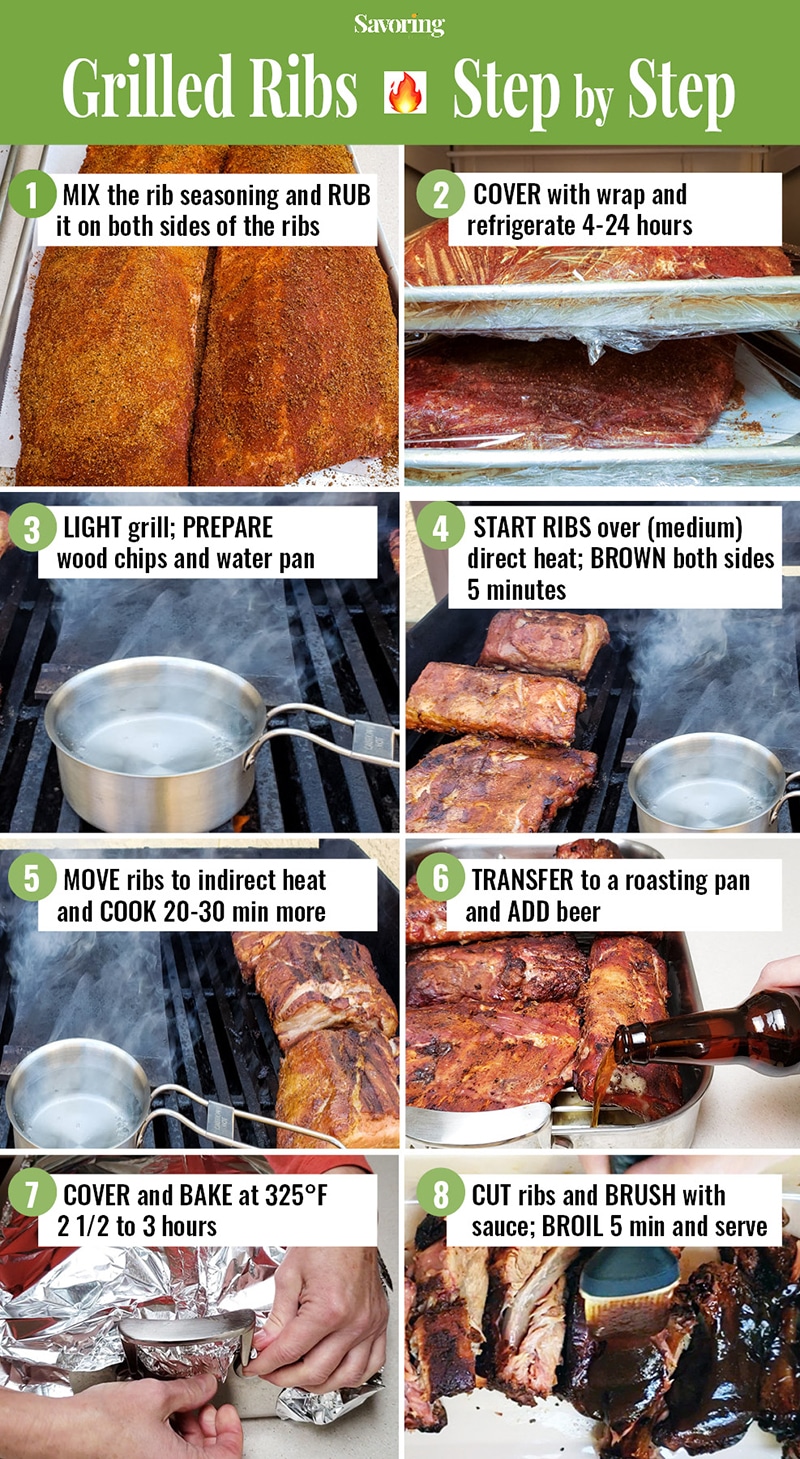
Grilled Ribs Step by Step
- MIX AND RUB the spice seasoning on both sides of the ribs.
- COVER and refrigerate for at least 4 hours or up to 24 hours.
- LIGHT the grill with the intention of creating 2 heat zones; prep the water pan, and wood chips. (You can spritz the meat with juice, beer, or water if you do not have a water pan.)
- GRILL over (medium) direct heat for 5-6 minutes on both sides.
- MOVE the ribs to the indirect heat zone and cook for another 30 minutes. (Water pan and wood chips stay over direct heat.)
- TRANSFER the ribs to a roasting pan and pour beer into the bottom of the pan.
- COVER tightly with aluminum foil and BAKE at 325° for 2 1/2 to 3 hours or until meat is very tender and loosens from the bone, but not falling off. (190 to 203°F internal temperature)
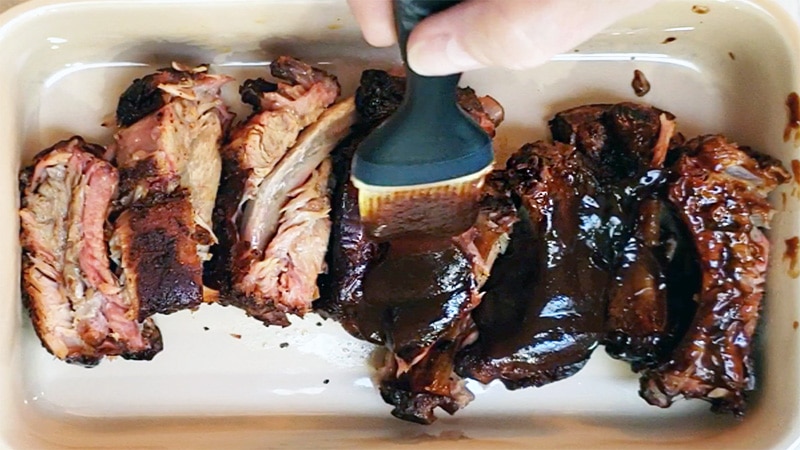
- CUT into individual ribs and BRUSH with sauce; return to the grill or place ribs under the broiler for 5 minutes to caramelize the sauce and serve.
More Grilling Recipes You’ll Love
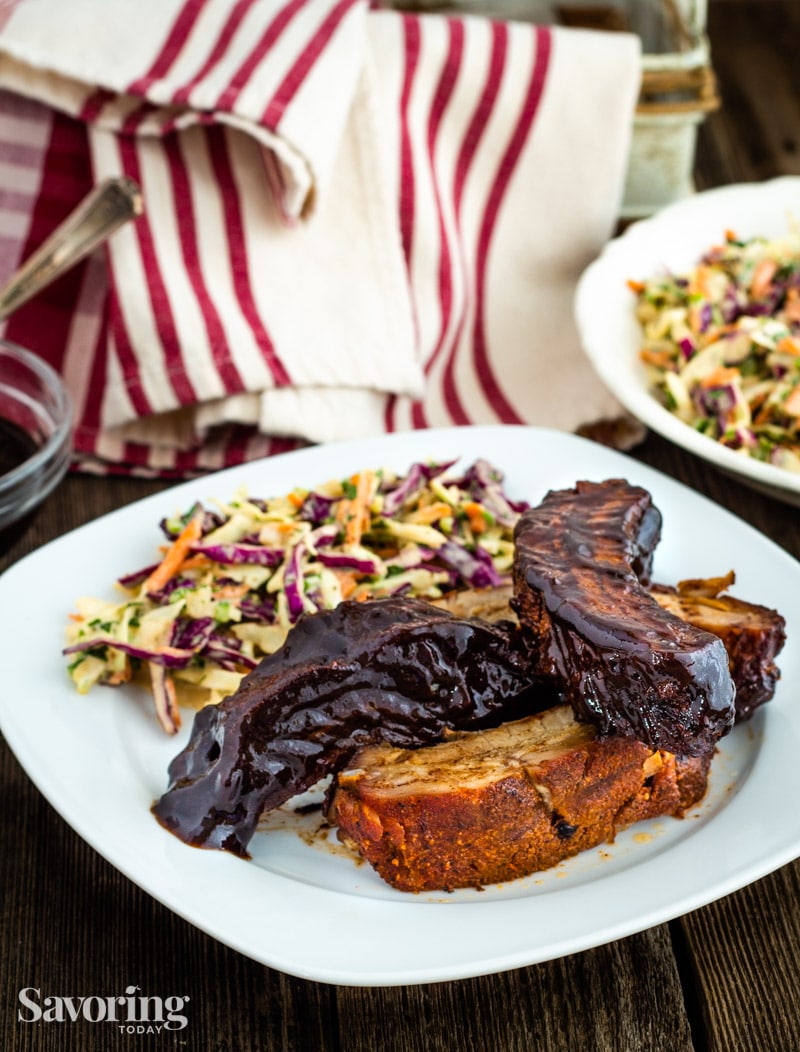
Grilled Baby Back Ribs with Smoked Chile Dry Rub
Ingredients
- 2 1/2 tablespoons coconut palm sugar or brown sugar
- 1 1/2 tablespoons hickory smoked sea salt or flaked kosher salt
- 1 tablespoon smoked paprika
- 1 tablespoon ground cumin
- 2 teaspoons ground mustard
- 2 teaspoons granulated onion
- 2 teaspoons granulated garlic
- 2 teaspoons black pepper
- 1/2 teaspoon chipotle chile powder
- 4 1/2 pounds baby back pork ribs
- 24 ounces beer 1-2 bottles
- BBQ sauce for serving any favorite
Instructions
PREPPING THE RIBS
- (OPTIONAL) Remove the silverskin from the ribs by slipping a butter knife under it enough to lift it off to get your finger under it. Peel it off the ribs by pulling it away from the rack in the opposite direction it is laying, like peeling the back off a sticker.
- Mix sugar, salt, paprika, cumin, onion, garlic, and pepper in a small dish until well combined. If the ribs are larger than your pan or grill, cut each rack of ribs into thirds so it’s easier to handle. Sprinkle the seasoning over the meaty side of the ribs and rub with your fingertips to evenly cover the meat in a thin layer. (You may not use all the seasoning.)
- Set the ribs on a rimmed baking sheet, cover with plastic wrap and refrigerate for 4-24 hours.
USING A CHARCOAL GRILL
- In a charcoal grill, arrange hot coals on only one side of the grill to create a direct heat and indirect heat zone—this will allow you to move the ribs to cook more slowly. (If using wood chips or a water pan, put those on the grill while it is heating up so they are hot and ready when the ribs go on.)
- Start the ribs over medium direct heat to sear meat and caramelize the rub, browning each side for 5-6 minutes. At this point, you will want the lid on the grill but slightly ajar with an inch gap for good air circulation to keep the grill hot.
- Arrange the ribs on the indirect heat side of the grill. Keep the wood chips and water pan over direct heat. The goal is to create a steady, low stream of smoke to flavor the meat and cook the ribs at a lower temp about 350°F. TIP: Add moisture to the ribs by spritzing with beer, juice, or water if you don’t have a water pan set up.
- Continue to grill over indirect heat for another 20-30 minutes (the wood chips should be smoldering during this time).
USING A GAS GRILL
- Light the grill and heat it to 400°F. (If using wood chips or a water pan, put those on the grill while it is heating up so they are hot and ready when the ribs go on.)
- Start the ribs over medium direct heat to sear meat and caramelize the rub, 5-6 minutes. During these few minutes you can leave the lid closed, just keep an eye on it (turn the heat down if the meat is charring or flaring-up).
- Once the ribs are browned, turn the gas burners OFF on half of the grill to create an indirect heat zone. Arrange the ribs on the indirect heat side of the grill (over the burners you just turned off). Keep the wood chips and water pan over direct heat. The goal is to create a steady, low stream of smoke to flavor the meat and cook the ribs at a lower temp about 350°F. TIP: Add moisture to the ribs by spritzing with beer, juice, or water if you don’t have a water pan set up.
- Continue to grill over indirect heat for another 20-30 minutes (the wood chips should be smoldering during this time).
FINISH IN THE OVEN
- Once the ribs have a nice smoky aroma, remove them from the grill and place them on a rack (in a single layer if possible) in a roasting pan. Pour beer into the bottom of the pan and cover with a tent of aluminum foil (don’t let the foil touch the meat while cooking).
- Bake at 325° for 2 1/2 to 3 hours or until the internal temp of the meat is between 190 to 203°F and is easily pierced with a fork and pulls away from the bone.
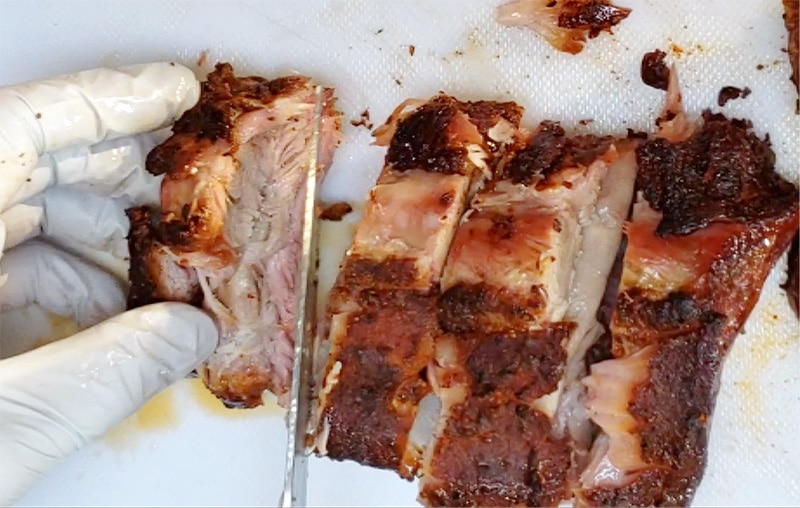
- Transfer to a cutting board and allow to cool slightly so you can cut ribs between the bones with a sharp knife for individual servings.
- At this point, you can brush with sauce and return to the grill or place it under the broiler for 5-6 minutes to caramelize the sauce and serve.
Notes
Once the ribs have been baked, you can freeze them and apply the sauce when ready to serve. To make gluten-free, use GF beer and barbecue sauce. The best way to get a smoky flavor with a grill to oven method: 1. Grill the ribs before baking so the grilled flavor gets locked in while they finish in the oven.
2. Add water—an inch or two of water in a disposable aluminum pan placed directly over the heat helps smoke flavor cling to the meat. If there’s no room for the water pan, using a spray bottle with apple juice, beer, or chicken broth to moisten the surface of the meat.
3. Add real hardwood chips. Wood chips smolder adding a smokier flavor than grills can produce alone. I use a stainless steel smoking pouch that is easy to use and works great! Grill manufacturers often have special baskets or other accessories for adding wood chips. Note: Only use food-safe wood chips; NEVER use wood scraps or treated lumber.
PRO TIP: Use wood pellets intended for smokers in place of smaller wood chips.
Bob says
I’ve had these ribs and they ruined me. I went to a place in Phoenix that had “The best ribs in Phoenix” and they where just “good”.
mjskitchen says
It’s definitely the season to take the heat outside. My husband loves to smoke meats and he’s love these ribs, as I would. What a great rub! thanks for sharing.
John / Kitchen Riffs says
Such a nice, detailed recipe! Loads of great tips and info, too. Thanks!