Garlic-Dill Green Bean Quick Pickles are a crunchy, snappy, and flavorful pickle option you’ll enjoy all summer. That’s right, my friends, Dilly Beans are all about that classic flavor of dill pickles bestowed upon sweet young green beans.
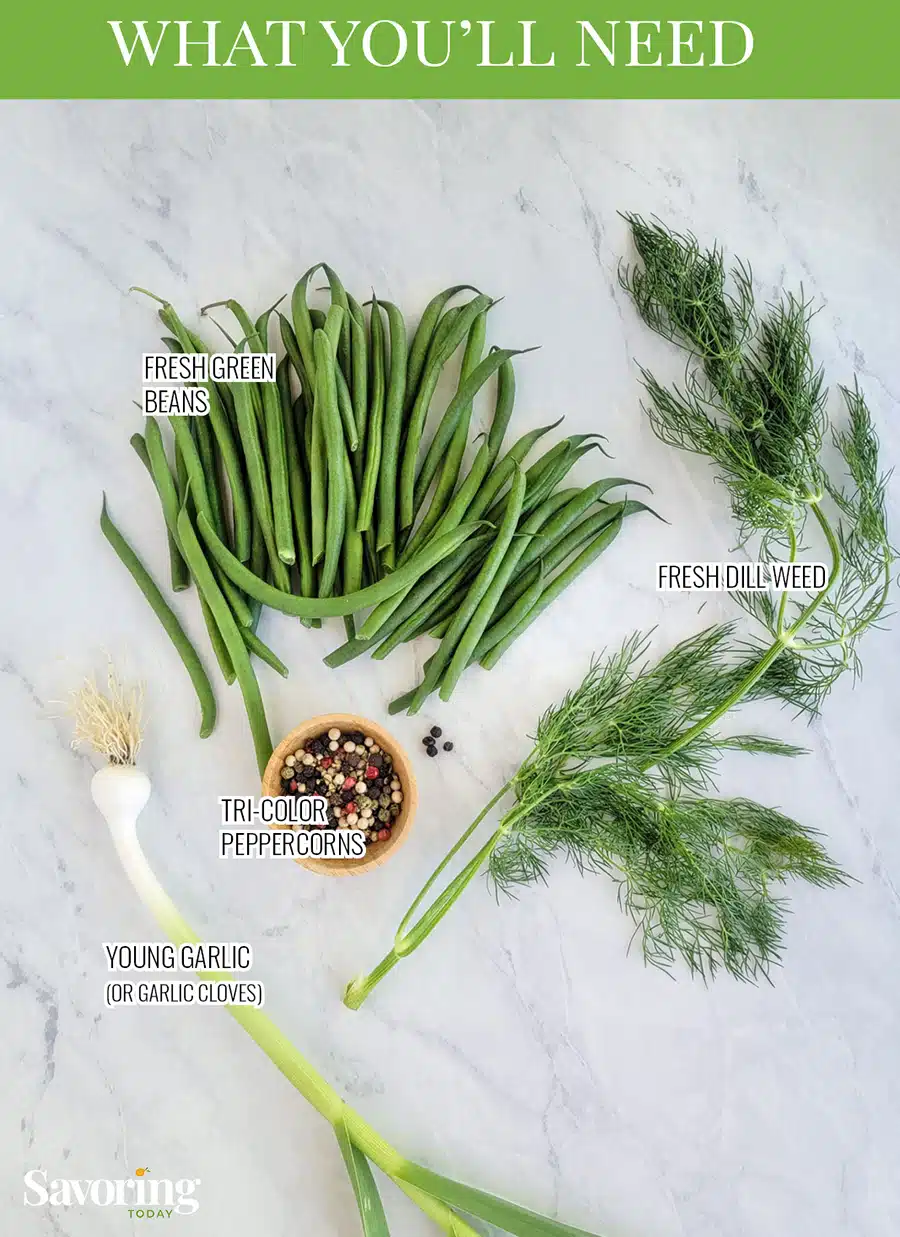
Whether you grow a garden, grab fresh bounty at the farmers market, or hit the bulk section at the store, you’re ready for a green bean pickle party! Fresh green beans, garlic, dill, and tri-color peppercorns are all you need to get started.

Garlic-dill green bean pickles, also known as “Dilly Beans,” originated in New Jersey in the late ’60s and are still popular today. If you enjoy the garlicky dill flavor of cucumber pickles, you’ll love it with green beans, too!
Any classic summer beans will work for pickling, but our favorite type for this recipe is haricots verts (French green beans) or small young string beans for their slight sweetness and tender texture.
Dilly Beans are a crunchy, tangy, delicious twist on charcuterie boards, salads, and sandwich wraps. Or you can just snack on them straight from the jar!
The Fun of DIY Pickling
Home canning and preserving are making a big comeback as more people become self-sufficient and reduce food waste. If you shop for produce at bulk stores like Costco, it can be hard to use up the larger packages of vegetables before they spoil. That’s where quick pickles save the day!
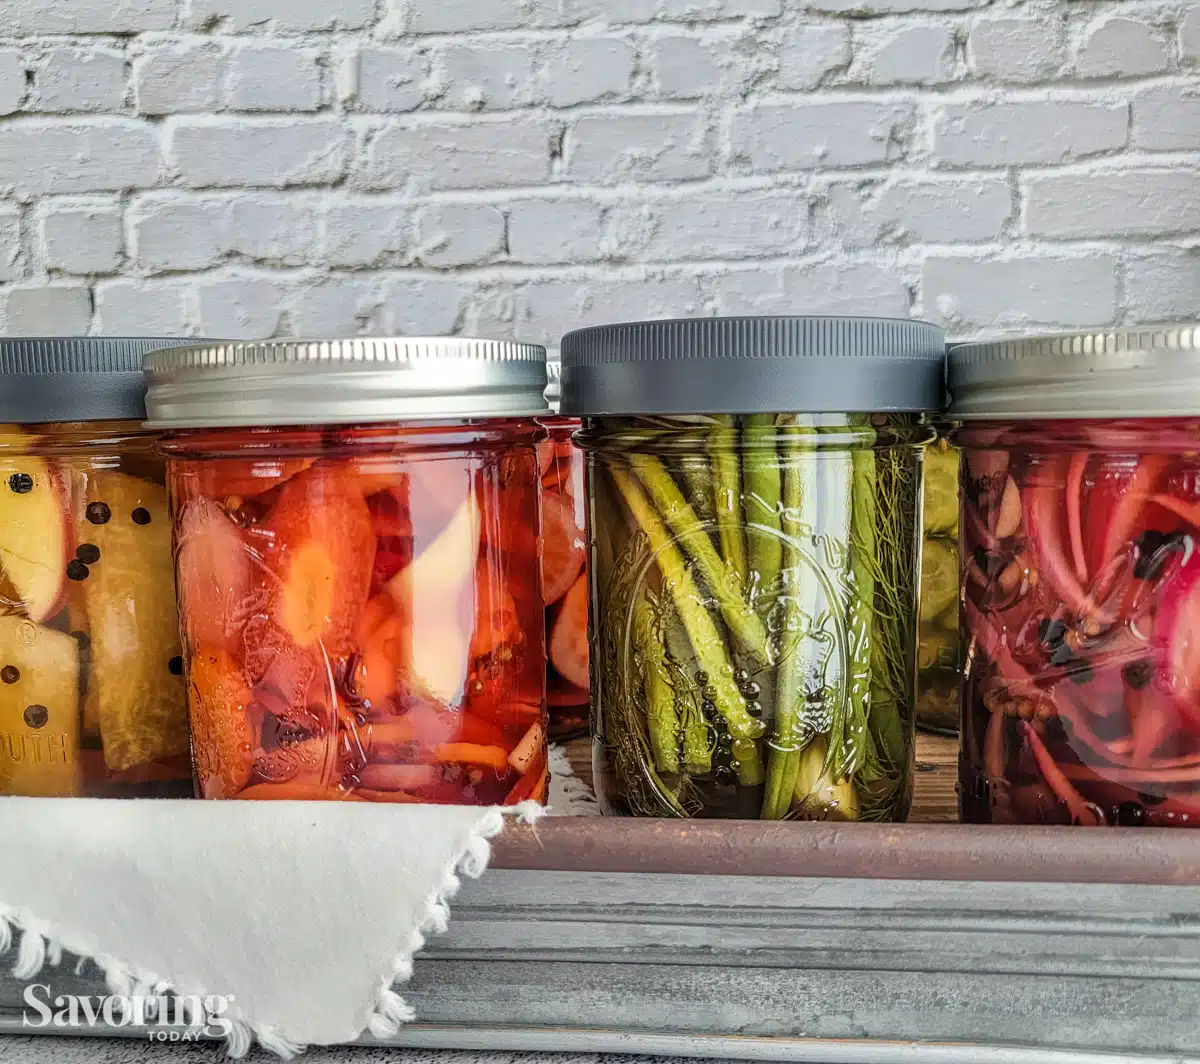
Get creative with flavors like smoked sea salt with red onions, tri-colored peppercorns and smoked paprika with radishes and jalapenos, or vanilla bean and cardamom with apples and jicama.
There are so many delicious possibilities, right?!
Making a batch of refrigerator pickles is done in three simple steps:
- Chop (prep the vegetables)
- Brine
- Cool and Refrigerate
NOTE: This quick pickling recipe is NOT for unrefrigerated shelf storage and does not include fermentation as some classic pickling recipes do.

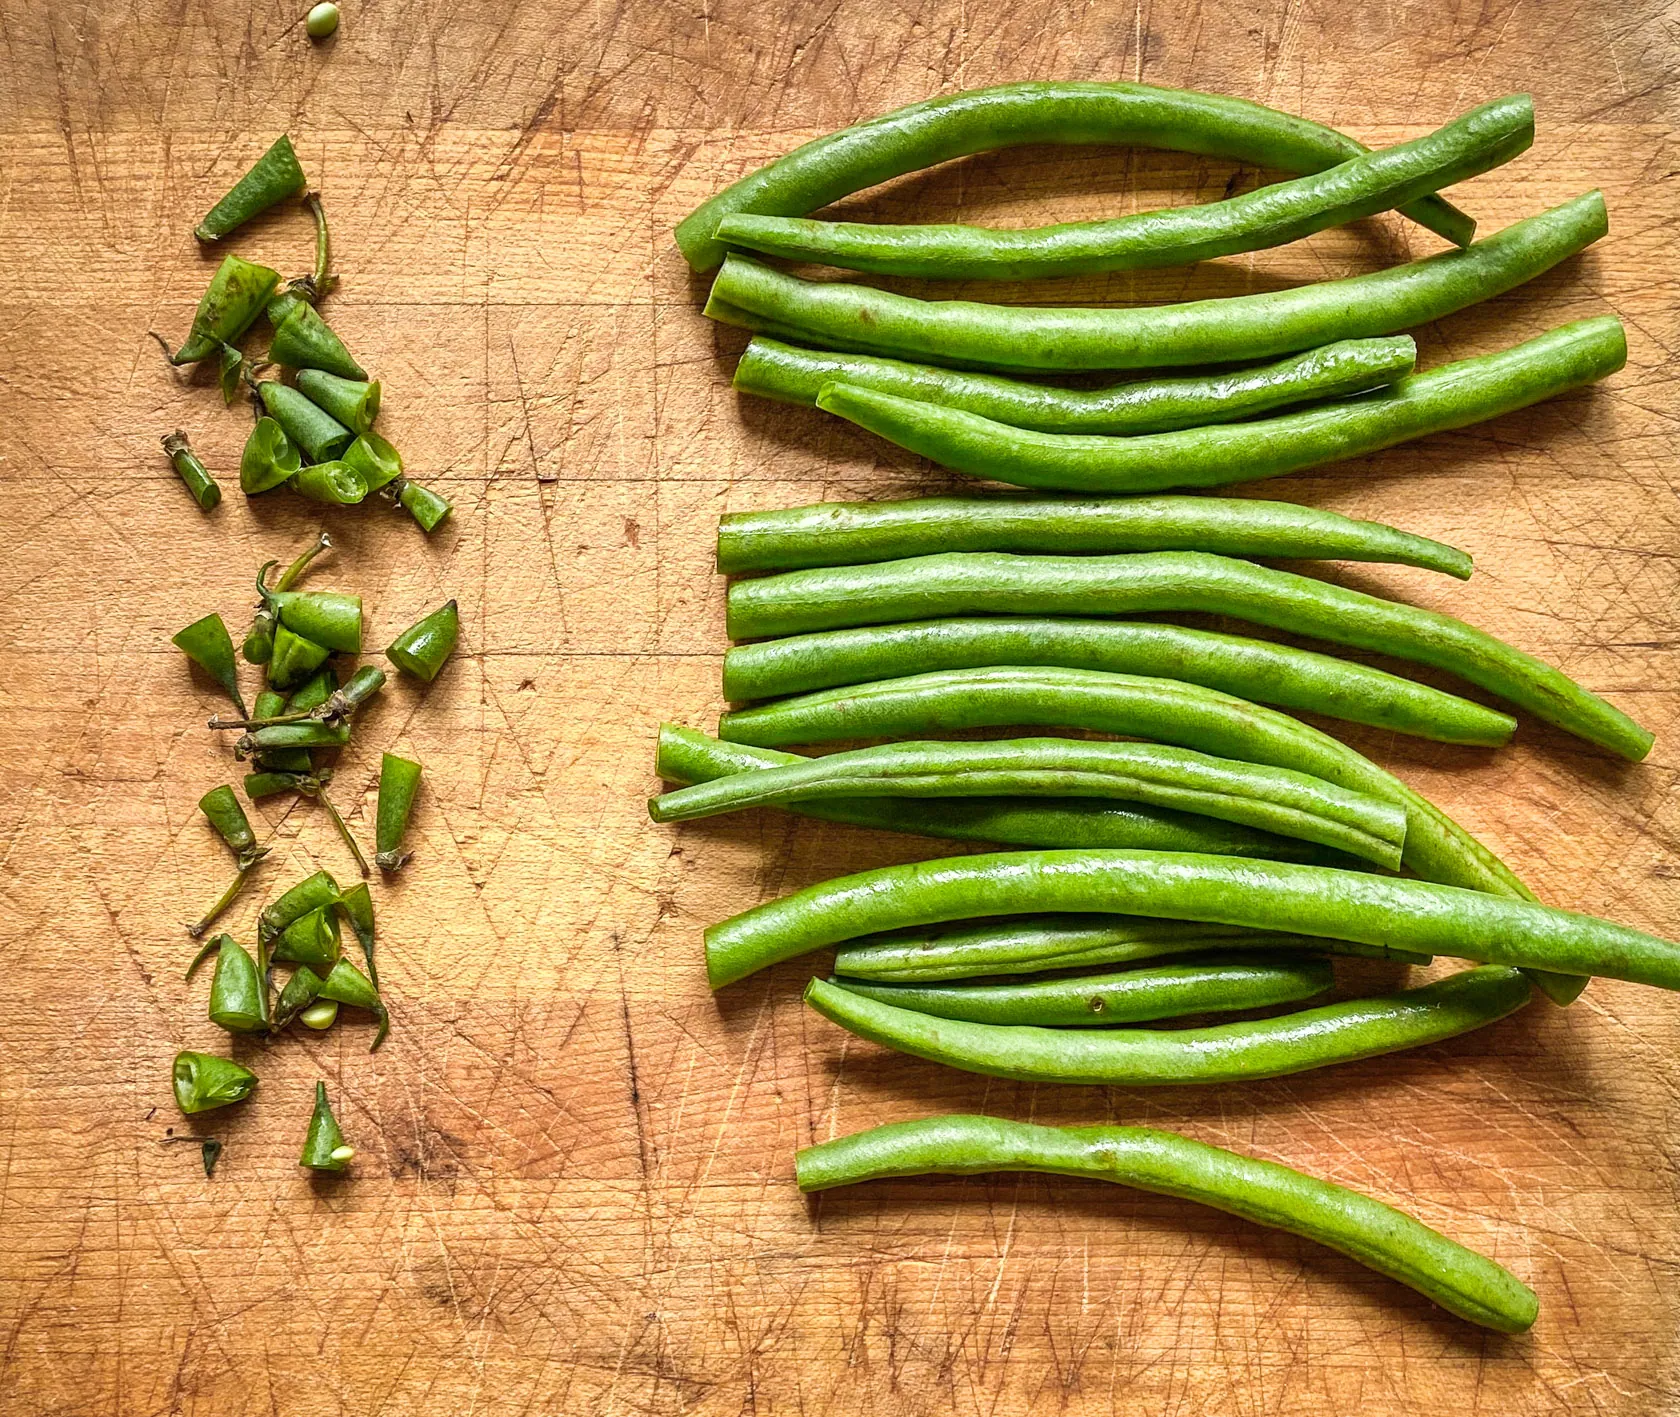
Wash and Trim the Green Beans
The stem end of the bean is woody and fibrous, edible but not desirable, and should be cut off as close to the end as possible. I recommend trimming about an eighth to a quarter of an inch with a knife. You can snap them off my hand, but it takes longer. Depending on how long they are, trim the beans to fit inside the jar you’re using to pickle them in.
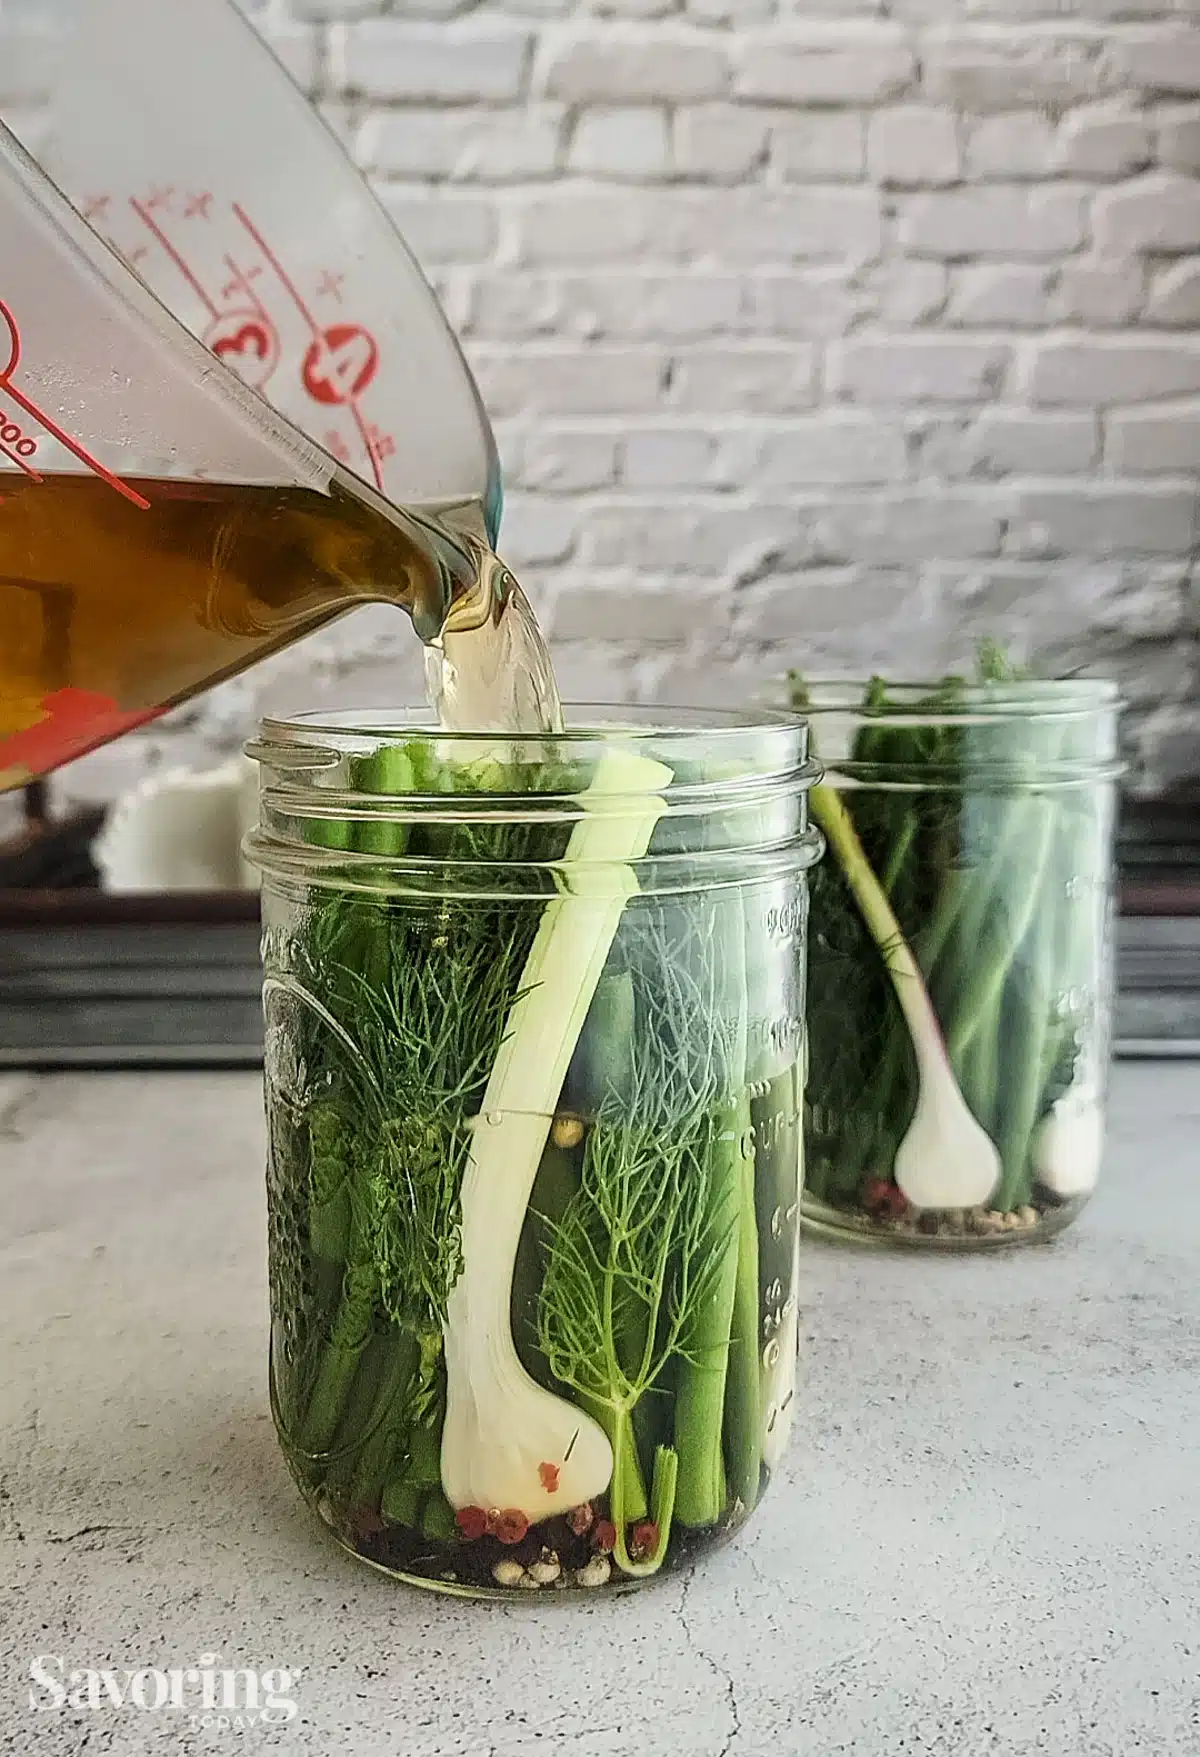
Measure the peppercorns into the bottom of the jar, then add the beans vertically to maximize the amount of beans. Poke the garlic down into the beans as you go—using chopsticks helps to get the garlic where you want it.
Heat and pour the brine
Place the water, apple cider vinegar, sugar, and salt in a saucepan and boil. You’ll want the salt and sugar to be fully dissolved, but keep the brine from boiling for a long period of time (too much evaporation may lead to an overly acidic brine).
Pour the hot brine over the beans until it fills the jar to just under the lip.
TIP: Because I pack the jar pretty tight with beans, they stay put when adding the brine and don’t float. After eating a few, I add a glass pickle weight to the jar to keep them submerged. (See pickle weight info below.)
Cool and refrigerate
Let the jar of beans cool to room temperature (1-2 hours), screw on the lid, and then refrigerate. For best flavor, let the dilly beans steep for 24 hours before eating, and store for up to 2 months in the refrigerator.
This post may contain affiliate links. See our disclosure policy for more information.
Do I need pickle weights?
Keeping the pickle contents below the brine is important to discourage mold or spoilage. Some vegetables are dense enough to sink, but others do not. Because of this, I use glass fermentation weights made for use in wide-mouth pint jars.
Pickle weights are easy to use as they sit on top of the vegetables to keep them under the brine. My favorite pickle weights have a small inset knob that makes it easier to remove from the jar. This is easier when the weight is closer to the top. Otherwise, you might need a fork to tip it when taking it out.
For more in-depth information on quick pickling basics, flavor suggestions, and pickling questions, check out our recipe for Smoky Quick Pickled Red Onions.

Ways to serve pickled green beans
- Snack Attack: Eat them straight from the jar for a quick, healthy snack.
- Salad Superstar: Chop them up and toss them in Mediterranean salads for extra crunch and flavor.
- Cocktail Garnish: Pop them in a Martini, Bloody Mary, or other savory drinks.
- Sandwich Upgrade: Add them to sandwich wraps for a tangy twist.
- Side Dish: Serve them with BBQ grilled meats or as part of a charcuterie board.
- Substitute in recipes that call for olives or capers.
Garlic-Dill Green Beans “Dilly Beans”
Ingredients
Basic Brine
- 1 cup water
- 1 cup apple cider vinegar
- 2 tablespoons sugar
- 1 tablespoon kosher salt
Jar Contents (Divided into 2 pint jars)
- 1 pound young green beans (haricots verts)
- 4 small green garlics , sliced lengthwise in half (or 4 cloves garlic, sliced thin)
- 1 package fresh dill (.50 ounces)
- 2 tablespoons tricolor peppercorns
Instructions
- Mix the brine ingredients in a saucepan over med-high heat about 5 minutes to dissolve sugar and salt.
- Divide the peppercorns in the bottom of the each jar. Trim the beans to fit the jar and stuff the beans into the jars standing up straight. Trim the green garlic to the lengths of the jar and cut in half lengthwise. Using a chopstick or spoon handle, guide the garlic and dill into the jar along the inside (so you can see it from the outside)
- Once the jar is prepped, heat the brine to a boil. Pour the hot brine over the contents in the jar to just below the rim (the brine should cover all the vegetables). Allow to cool to room temperature, screw on the lid and refrigerate for up to 2 months.


Leave a Reply