Baking spices and autumn apples usher in the coziest fall flavors in this easy recipe for a classic apple tart with salted caramel sauce. The irresistible harmony of spiced apples and a flakey pie crust drizzled with salted caramel makes a worthy dessert for any gathering or holiday party.
Name one dessert trio more perfect than apples, cinnamon, and salted caramel. Yeah, I can’t either.
I also share the secret to no-fail (no crystallized sugar) caramel sauce. Bet you can’t guess it!
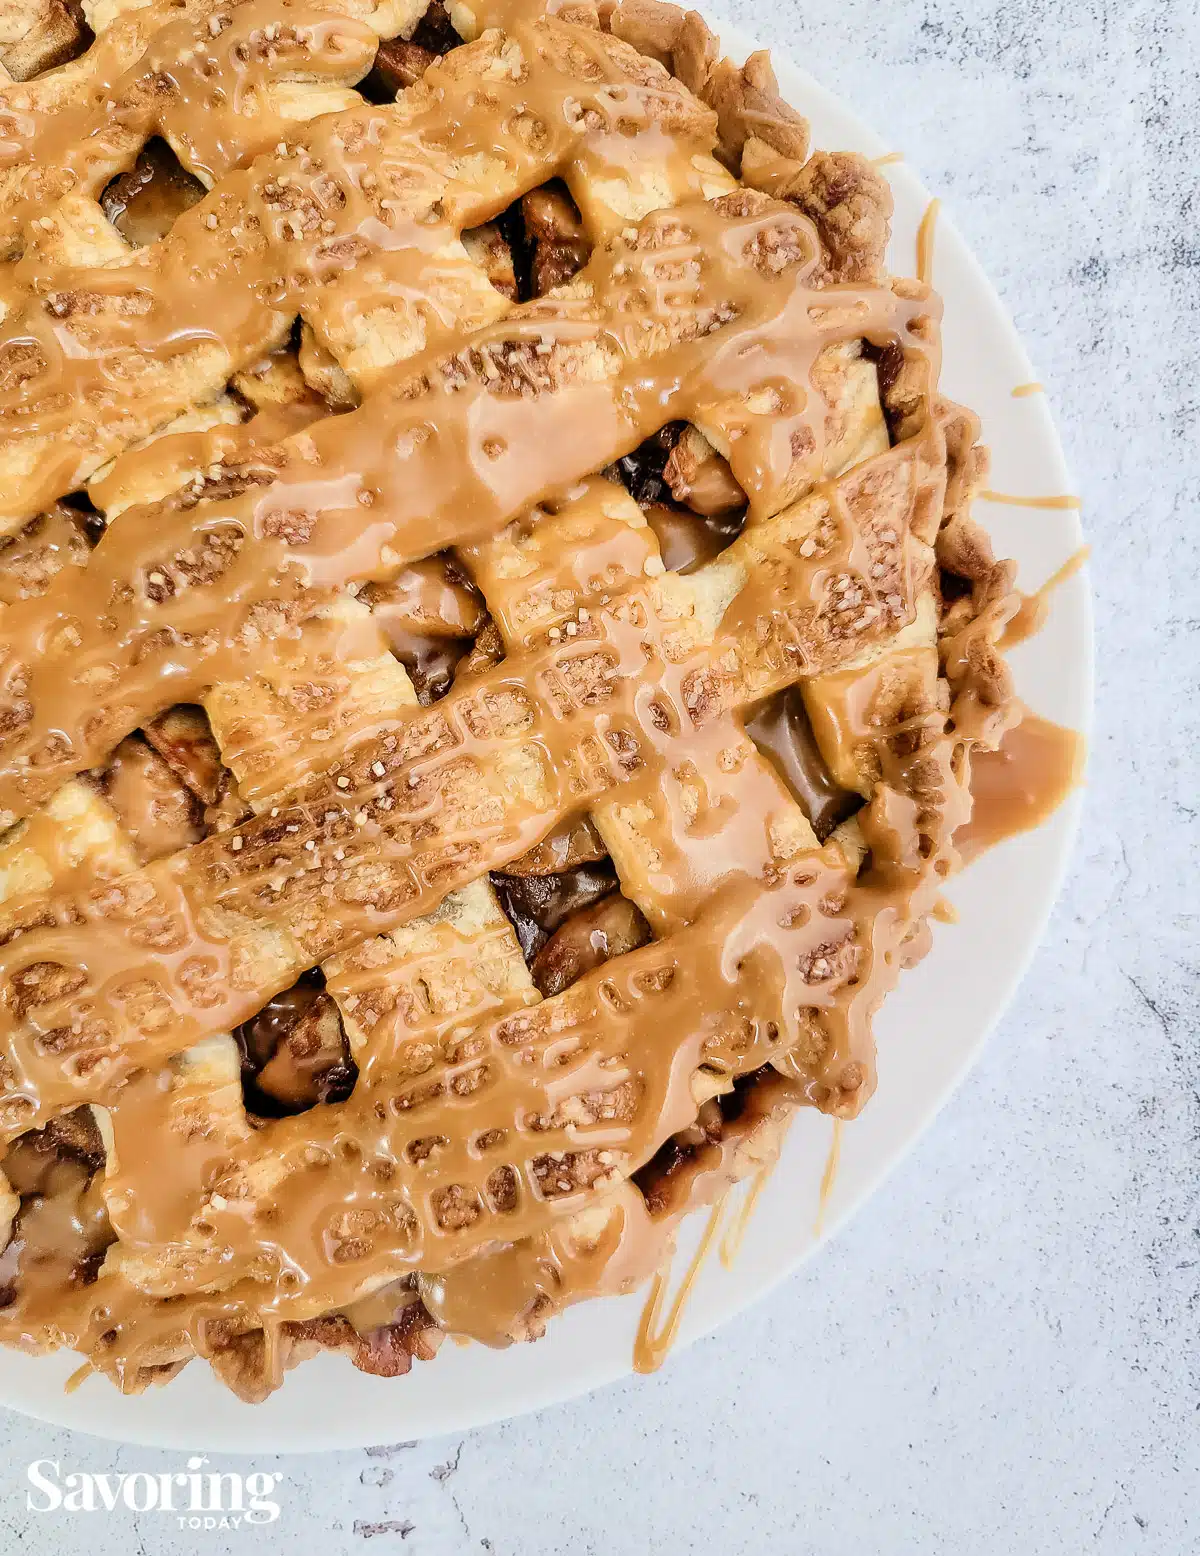
Why a tart vs. a pie?
Here’s the deal: If you’re making the dessert, you can call it whatever you want.
The clear difference is that tarts tend to have a higher crust-to-filling ratio and are usually free-standing. Some may distinguish a tart as having more of a shortbread cookie crust than a pie crust, but I’ve seen plenty of pies with cookie crusts and tons of tarts with a simple pie crust.
Feel free to dig around in the culinary vocabulary book, but one search will show you that the ven diagram of tarts and pies looks like a dang near-perfect circle.
Flaky or crumbly crust, top crust or no top crust, sweet or savory, and richer or lighter fillings all speak to the versatility of tarts.
It’s the more crust, less filling aspect of tarts that draws me in every time, so we’re running with it! And to make this one super-easy, we’re using a store-bought pie crust to shave a few minutes off the prep time.
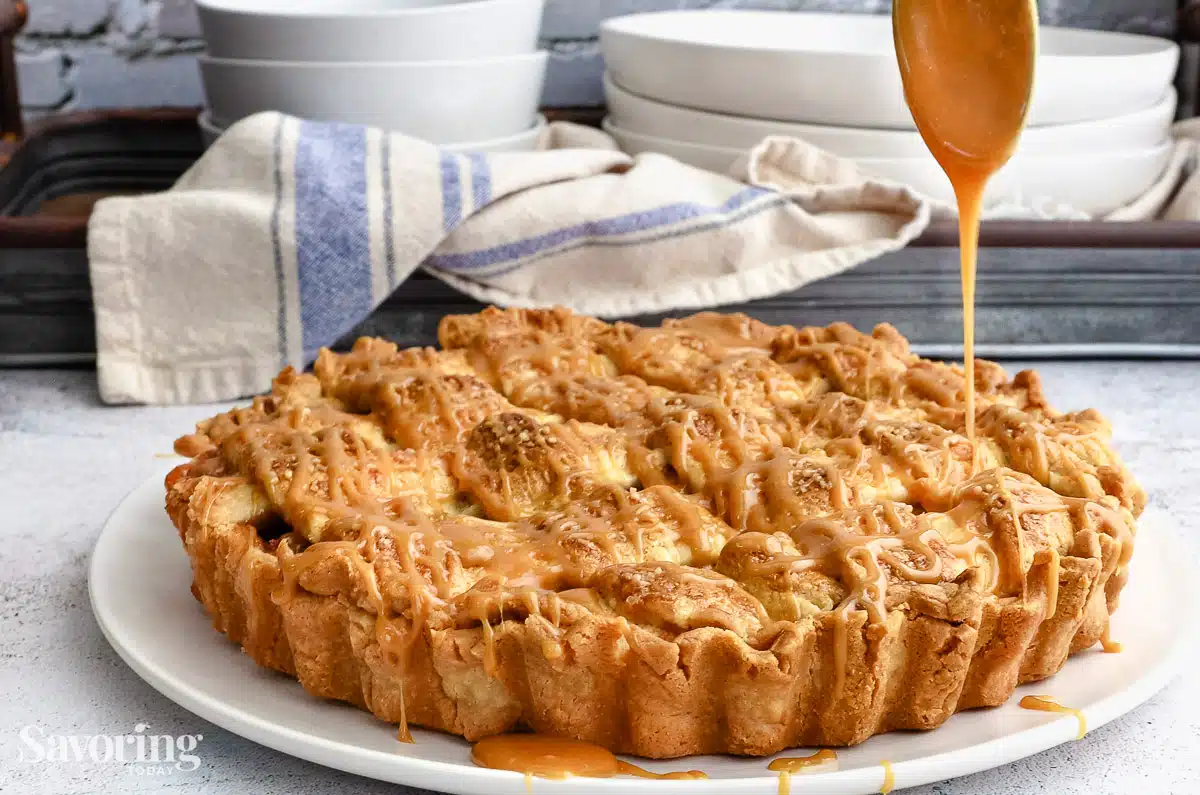
Best tart pan to use for making an apple tart?
I use a 9-inch tart pan, a two-piece baking dish with a removable bottom panel to easily lift the tart out of the pan to display or serve it. This keeps the sides open, making it easier to slice and serve without digging it out of a pie dish and sacrificing that first piece (you know what I’m talking about).
A springform pan that you’d typically use for cheesecake can also work. Anything wider than 9-inches will result in a thinner layer of filling, so adjust accordingly.
If you don’t have a tart pan or springform pan, a regular pie dish will work fine. However, the filling will not fill a standard pie dish as written, so you’ll want to increase the apple filling by 20 percent to create a pie.

Which apples should I use for baking?
Apples are available year-round, but the best and brightest of them land in our laps during the fall. The possibilities are endless and the kitchen smells extra amazing as we bake our favorite pies and pastries, though not all apples bake equally.
The success of any baked apple recipe depends on which apples you use, and apples have the most diverse genome of any known plant on the planet. There are SO many kinds, and we love them all!
Some apples contain too much water and release it during baking, leaving you with a soupy filling and soon-to-be-soggy crust. Some dry out and get chewy when baked, and some are straight-up bland.
You’ll always want to choose apples that are crisp, firm, and sweet-tart when baking a tart or pie. The suggested apple list below is a general guide and is not intended to end any debate, as there are differing opinions.
Here is a short list of good sweet/tart apples that maintain their shape and flavor when baked:
- Granny Smith
- Winesap
- Cortland
- Honeycrisp
- Braeburn
- Jonagold
- Pink Lady
- Golden Delicious
Apples less suitable for baking:
- Fuji
- Gala
- McIntosh
- Red Delicious
- Empire
- Anything old, bruised, or mealy.
FUN FACT: Scientifically, apples with greater levels of calcium and acidity (like Granny Smith) reinforce pectin, the active chemical that strengthens the cellular walls of an apple. That will lead to a stronger structure that will maintain its shape and create a good texture through the baking process.
TIP: If possible, mix the types of apples you use. Tart, crisp Granny Smiths are delicious, but they can be complemented by another sweeter apple, such as Honey Crisps, for a more nuanced flavor in your apple dessert.
This post may contain affiliate links. See our disclosure policy for more information.
Can I leave the apple skin on?
We recommend peeling the apples as it makes the bite more tender, but there are no hard rules here. Leaving the skin on can make a tart more visually and texturally interesting. If you do choose the keep the skin on your apples, make sure you wash them thoroughly and slice them thin. You may choose a variety with thinner, more tender skin, like the Yellow Delicious or Jonagold.
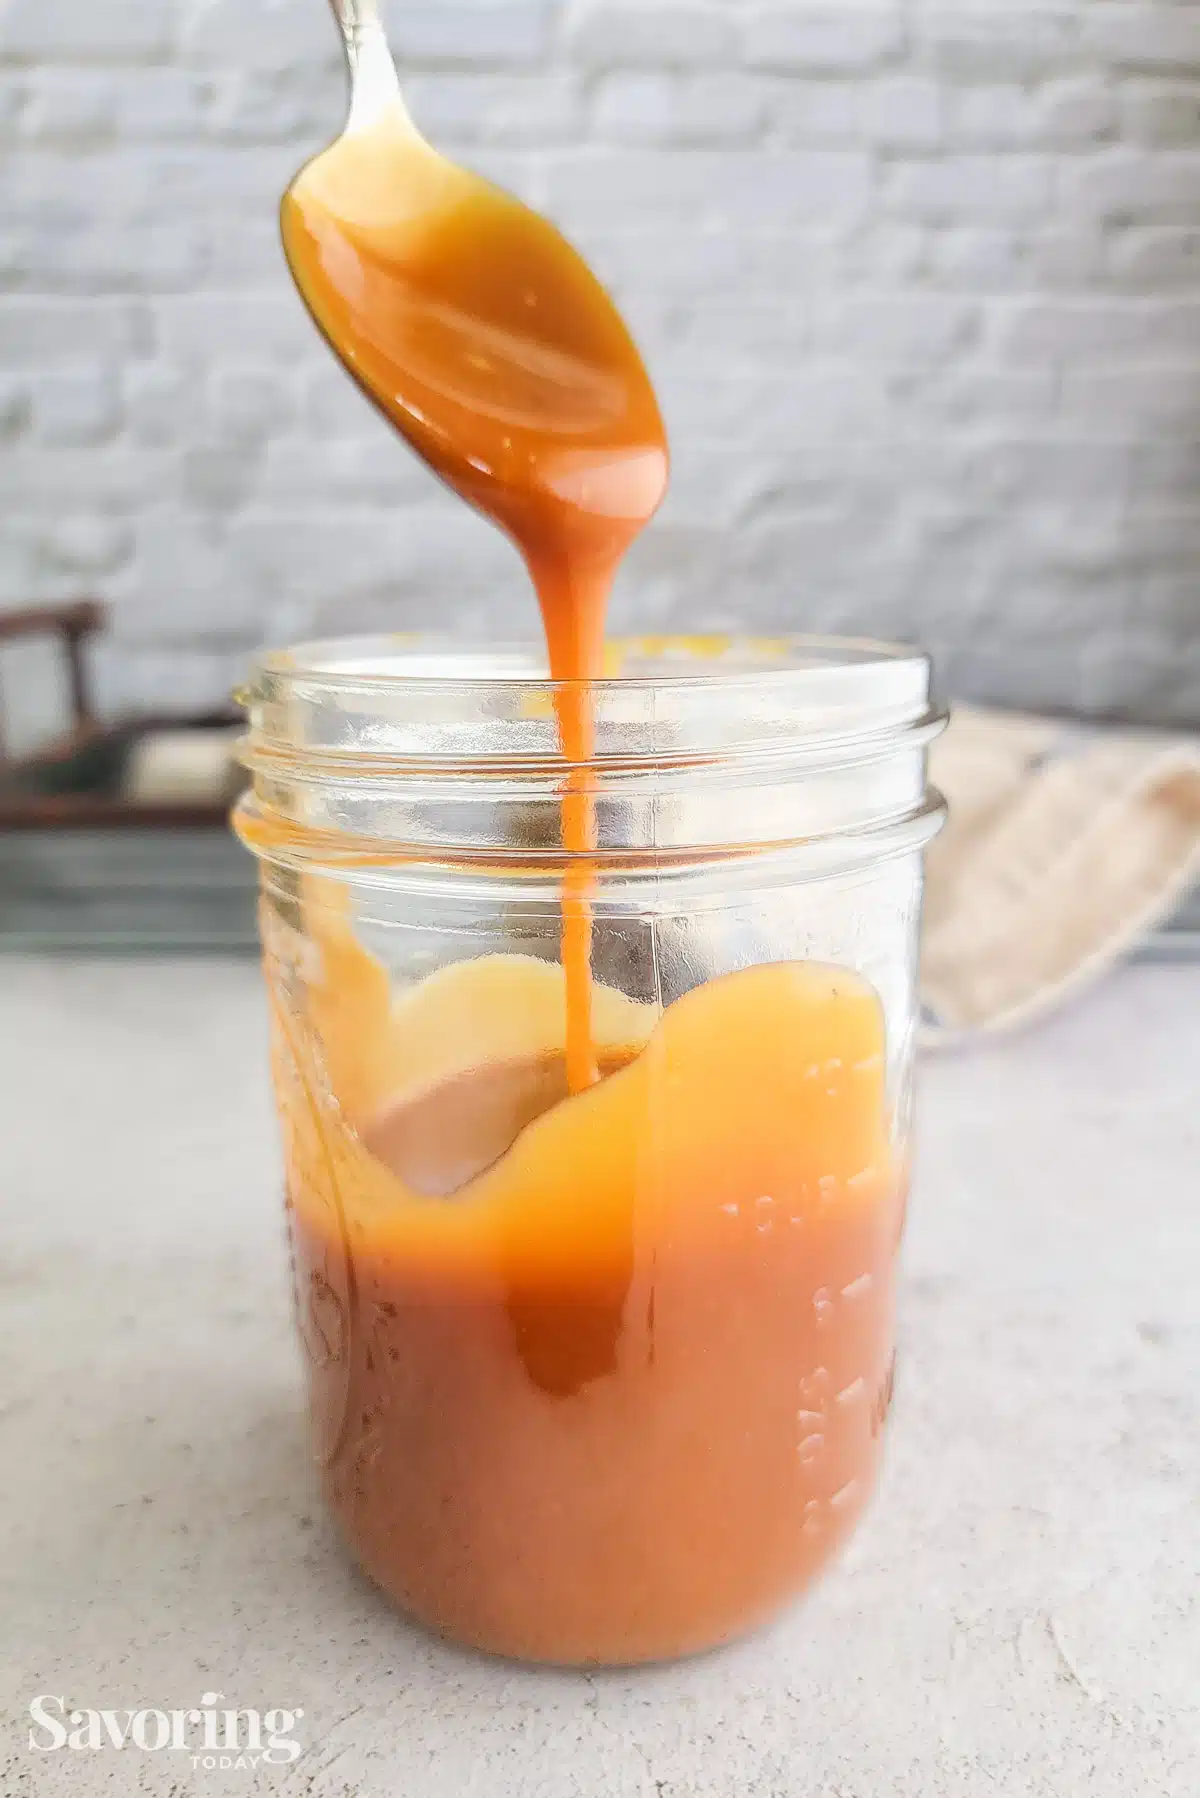
How to make Salted Caramel Sauce
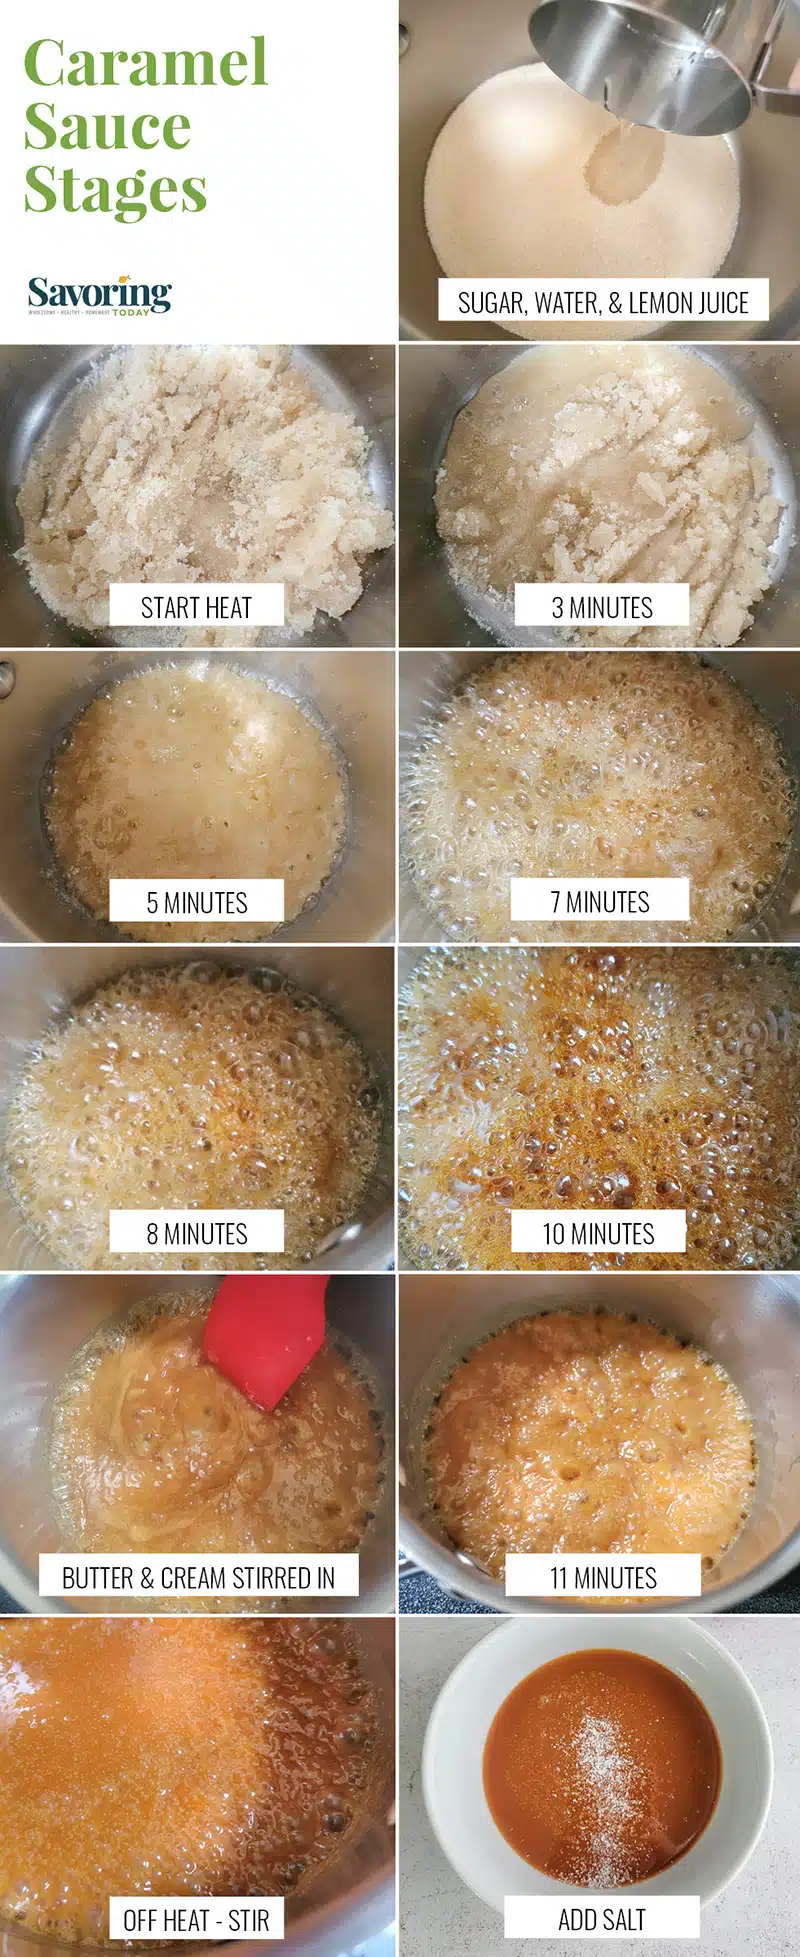
Sugar, butter, heavy cream (dairy or coconut), lemon juice, and salt will create a beautiful golden caramel sauce. Yep, just 12 glorious minutes to dreamy caramel.
Wait, what? Did I read lemon juice? I know what you’re thinking, but you CAN NOT taste it and IT’s THE SECRET to no-fail caramel sauce!
Yes, and I failed numerous times before I discovered this little secret. I was having trouble with the sugar melting and then crystallizing. I tried all the recommendations I could find, and the one that proved best for avoiding the rock candy phase is—lemon juice (fresh, not the bottled stuff).
My BEST TIPS for No-Fail Caramel Sauce:
- Add 1 teaspoon of lemon juice to 1 tablespoon of water right at the start.
- Go easy on the water—the sugar will not caramelize until the water has evaporated. If you add more, it will just take longer to get the sugar to brown. (This recipe takes 12 minutes.)
- Start with room-temperature butter and cut it into pieces so it melts faster. I use salted butter.
- Warm the cream for 30 seconds in the microwave to just above room temp (it will still bubble vigorously, but not as much)
- Use a decent 3-quart stainless steel pan (thicker bottom, no dark non-stick pans) If all you have is a thinner bottom pan, reduce the heat so the caramel doesn’t burn.
- Don’t stir (be patient). If you can’t leave it alone, push it around the pan once or twice, but you don’t need to.
- Go slow with the salt (cuz too much is too much). I use Diamond Crystal Kosher Salt, which is less salty than regular table salt, so I strongly recommend starting with only 1/2 teaspoon and adding from there.
How to make caramel sauce with coconut palm sugar:
We use coconut palm sugar for most recipes, but sometimes we want a sweetener lighter in color and flavor, which is the case with this sauce. However, if you want to keep your dessert closer to whole food and clean eating as possible, you can swap out the regular white sugar with coconut palm sugar.
Keep in mind, the dark color and already caramel-like flavor will not take long to caramelize and will make it harder to gauge when it is done. Also, go easy when adding the salt; it will take less for coconut palm sugar.

Do I have to salt the caramel?
The sauce recipe is a basic caramel sauce finished with salt, so you can certainly make the recipe and reduce the salt amount to a heavy pinch.
We like salted caramel because salt enhances all other flavors in a recipe, creating a more complex and balanced bite. Surprisingly, the salt can make the pie taste a little sweeter.
TOP TIP: Add the salt in small increments until it reaches your preferred level.

Let’s talk tart crust!
Ordinarily, I would use my gluten-free almond tart crust or my gluten-free pie crust recipe. But since I wasn’t cooking for my GF friends and family, and I needed to shave some time off the prep, I bought a pie crust. (gasp!)
Even though this was one of those times convenience won out, the pie crust I picked up at Trader Joe’s was one of the better-tasting premade crusts I’ve tried. I think it’s because they use some butter in their pastry that the flavor wins out over other brands.
Of course, we include a simple scratch butter pie crust here if you want to go the extra step (it’s always worth it).

Partial blind-baking pie crust
An important aspect of fruit pies is the moisture they produce which is why I recommend partially blind baking the crust before filling it with apples. The result will have a more satisfying texture, with the crust tasting more cooked and less soggy.
Can I make an apple tart ahead of time?
Yes! While the best time to enjoy this tart is fresh out of the oven, it can be made a day in advance. Any longer than that, and you may have soggy crust syndrome.
How to reheat an apple tart:
For best results, reheat the tart in a pre-heated convection oven (6-8 minutes) or air fryer at 250°F (2-3 minutes) until the crust is shiny from the fat in the crust melting and the tart is warm.
The tart can be warmed in a microwave for 30-seconds, but the crust will no longer be crisp and flaky.
How to store apple tart for best results:
Once cooled completely, the tart can be left on the counter at room temperature, loosely covered, for up to 48 hours, or in an air-tight container in the refrigerator for 4-5 days (though beware of condensation).
How to freeze leftovers:
- Wrap the tart in plastic wrap to completely cover, then place it in a zip-type freezer bag—cutting it into smaller serving sizes may fit better.
- TO DEFROST: Remove the frozen tart from the bag and unwrap it BEFORE defrosting, so the caramel doesn’t stick to the wrap and any condensation can be brushed off. Defrost at room temperature and warm as instructed above.

Recipe TIPS & VARIATIONS:
- Make it gluten-free—substitute sweet rice flour for the all-purpose flour and use our gluten-free pie crust recipe for our turkey pot pies.
- Serve with a scoop of vanilla ice cream on the side.
- Substitute pears for the apples.
- Add vanilla, almond, or butterscotch extract for different flavors
- Add 2 tablespoons whiskey or rum to the caramel sauce
- Substitute coconut cream for the heavy whipping cream
- Do not use half & half or milk as a substitute for the heaving whipping cream, as the caramel will not thicken properly.
- Add the salt in small increments until it reaches your preferred level.
- Use a lower temperature for thinner saucepans when making the caramel sauce.

More Dessert Recipes You’ll Love
- Mint Chocolate Pie with Chocolate Crust
- Pumpkin Dream Pie from Scratch
- Key Lime Cheesecake
- Lemon Tart (gluten-free)
- Fresh Cherry Turnovers
- Strawberry Shortcake Cake
- Ghirardelli Grand Fudge Cake
Salted Caramel Apple Tart
Ingredients
9-inch Tart Pan
2-Crust Pie Dough
APPLE FILLING
- 4 large apples peeled, cored, and thinly sliced
- 1 tablespoon freshly squeezed lemon juice
- 1/2 teaspoon lemon zest
- 1/4 cup sugar
- 2 tablespoons all-purpose flour or sweet rice flour for gluten-free
- 1 teaspoon ground cinnamon
- 1/4 rounded teaspoon ground cardamom
- 2 tablespoons butter
CRUST FINISHES
- 2 tablespoons heavy cream
- 1 tablespoon coarse raw sugar anything with larger grains
SALTED CARAMEL SAUCE
- 1 cup granulated sugar
- 1 tablespoon water
- 1 teaspoon freshly squeezed lemon juice
- 6 tablespoons butter room temperature, cut up into 6 pieces
- 1/2 cup heavy whipping cream warmed
- 1 teaspoon Kosher salt (start with 1/2 teaspoon)
Instructions
- Prepare a 2-crust pie dough. Roll out a little more than half the dough 1/4-inch thick and place in a tart pan. Allow the dough to hang over the pan about 1/2-inch and trim the rest away. Crimp the edge of the dough to form a thicker edge around the top of the pan.
- Partial blind bake the bottom crust in a 400°F oven for 8-10 minutes, until the dough is set but not browned—the edges may lightly brown, and the bottom of the pie crust will not look raw or wet. Remove from the oven and set aside.
FOR THE APPLE FILLING
- In a mixing bowl, toss the sliced apples with the lemon juice and zest to coat.
- Mix the sugar, flour, cinnamon, and cardamom in a separate bowl and toss with the apples until evenly coated.
- Arrange the apples in the prebaked crust and dot with butter.
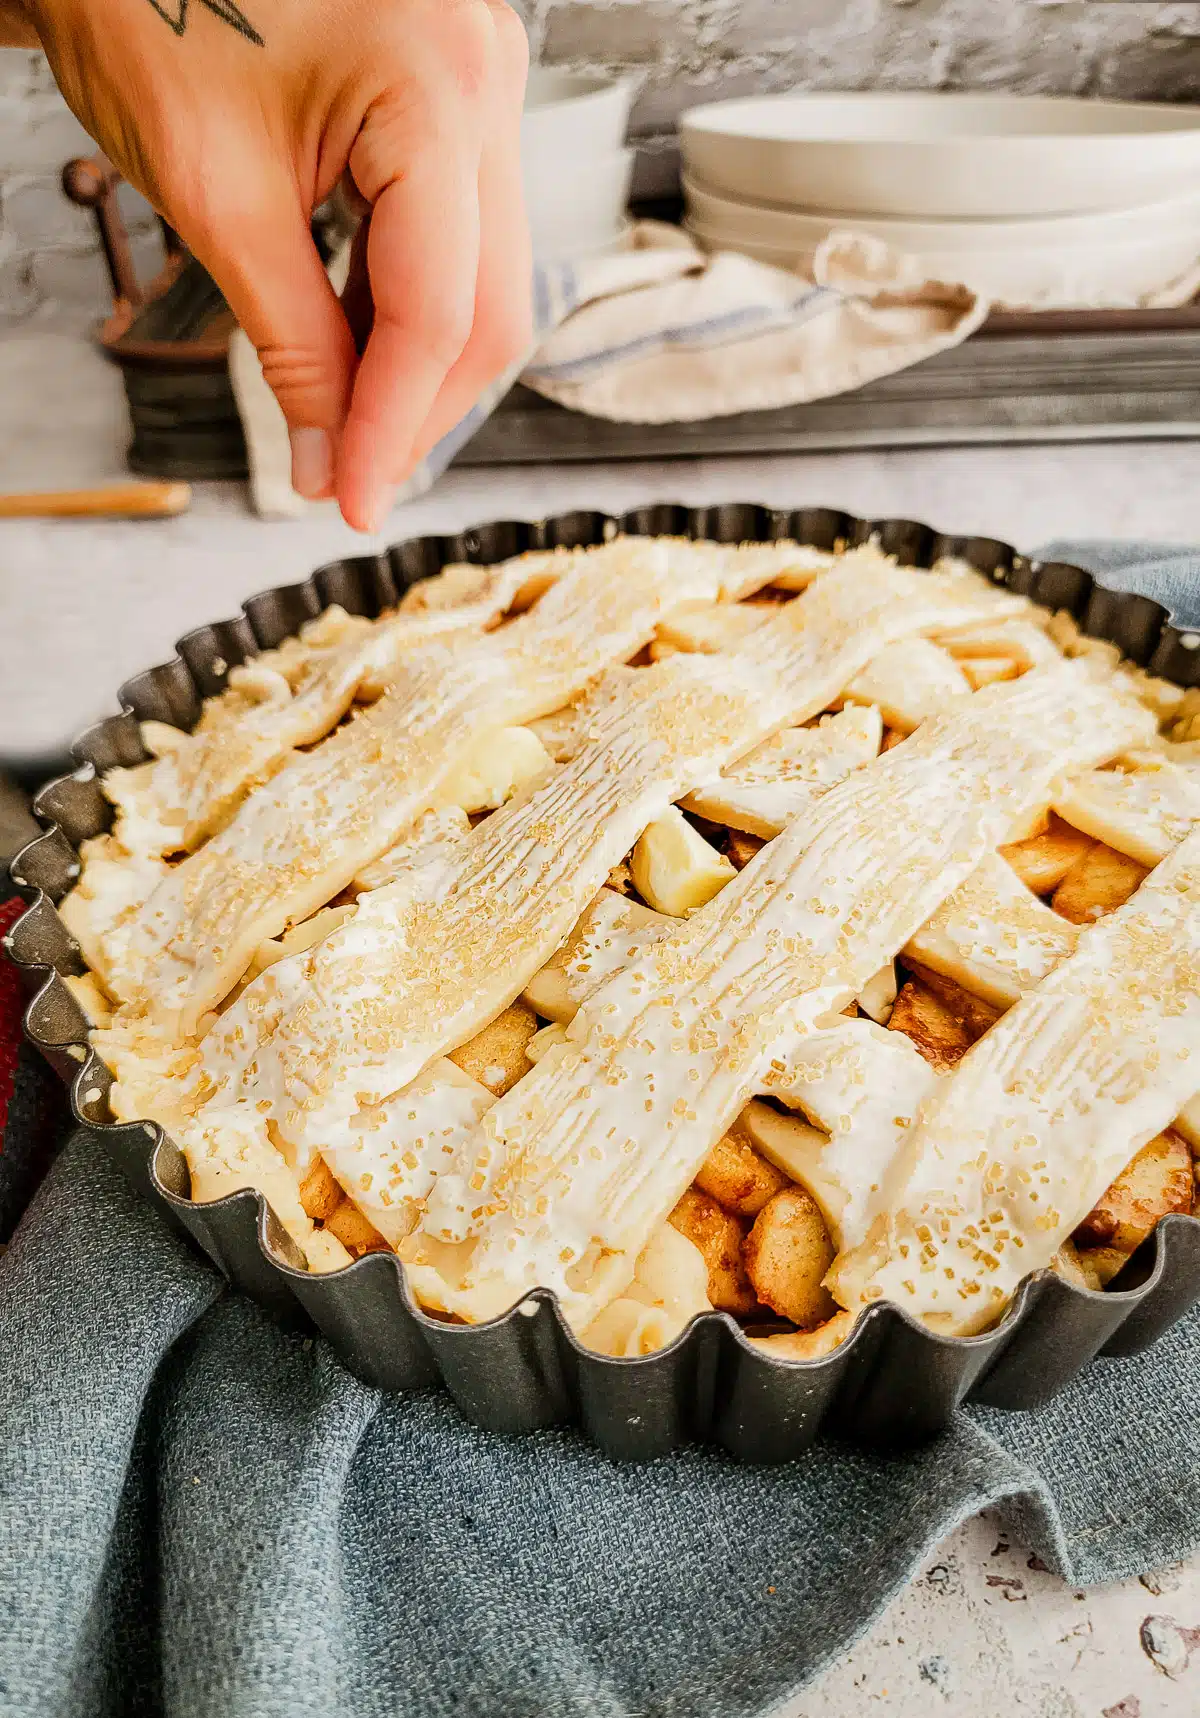
- Roll out the remaining pie dough 1/4-inc thick. Using a knife or a decorative pastry cutter, cut the rolled-out top crust dough into 7-8 1-inch-wide strips (shorter edge strips can be molded together). Using a spatula or pastry scraper, lift the dough strips and place 3 or 4 evenly over the pie filling. Repeat with 3 or 4 strips angled in the opposite direction. Pinch or press the ends of the dough strips against the edge of the bottom crust to secure.
- Brush the cream on the pastry crust and sprinkle with the raw sugar.
- Set the tart in the oven and bake for 35-40 minutes at 400°F until the filling is bubbly and the crust is golden brown. TIP: Since the tart pan is not sealed on the bottom, it is helpful to wrap foil around the bottom to catch any drips in the oven, or set a sheet of foil on the oven rack directly under the rack the tart is baked on.
- Transfer the tart to a cooling rack to cool for about an hour until the outer rim of the pan can be safely removed.
FOR THE SALTED CARAMEL SAUCE
- Heat the cream in a saucepan or microwave (30 seconds) just until warm but not hot. Make sure the butter is at room temperature and cut into 6 pieces.
- In a heavy 3-quart saucepan, add the water and lemon juice to the sugar and stir to wet some of the sugar. Cook over medium heat and allow the suger to melt and bubble until it turns a medium amber color, about 10 minutes. Be careful to watch it and remove from heat if the color goes beyond a deep gold or smells like it’s burning.
- Once sugar is gold in color, add the butter and cream—be careful in this step because the caramel will bubble rapidly—stir to combine with a heat proof spatula or wooden spoon. Let the caramel cook and bubble for 1 more minute (no need to stir).
- Remove from heat and stir in the salt. The caramel will thicken as it cools.
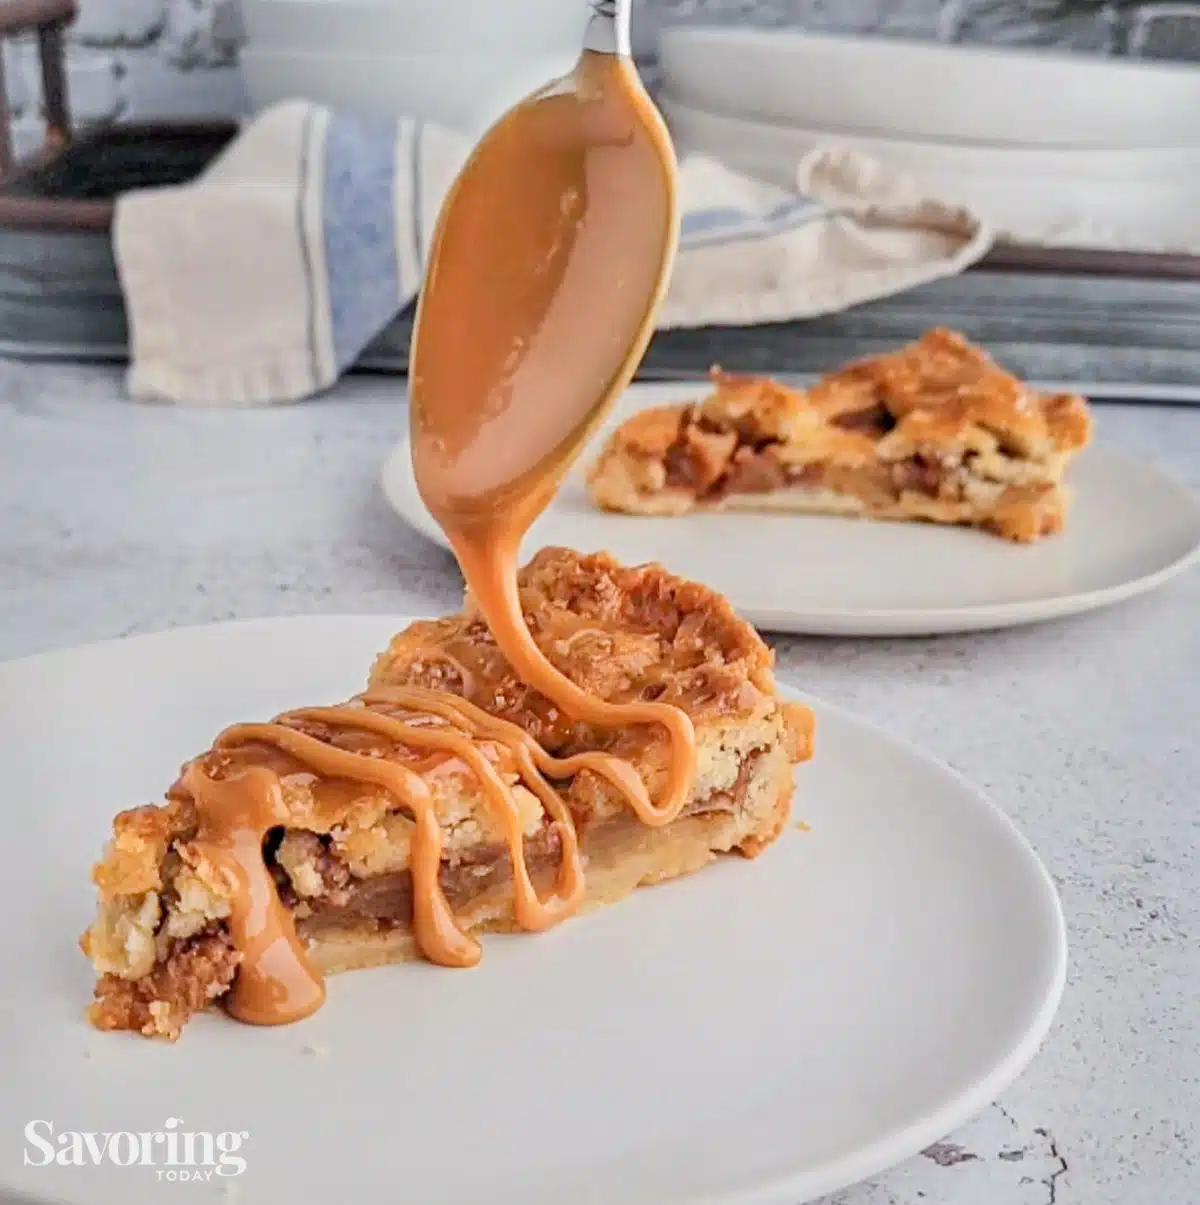
- Once the tart is cooled and sauce is cooled, but still easily stirable, drizzle the sauce over the tart. Slice and serve tart with more sauce, as desired.
Video Displays Here or In Post
Notes
-
- Make it gluten-free—substitute sweet rice flour for the all-purpose flour and use our gluten-free pie crust recipe for our turkey pot pies.
-
- Serve with a scoop of vanilla ice cream on the side.
-
- Substitute pears for the apples.
-
- Add vanilla, almond, or butterscotch extract for different flavors
-
- Add 2 tablespoons whiskey or rum to the caramel sauce
-
- Substitute coconut cream for the heavy whipping cream
-
- Do not use half & half or milk as a substitute for the heaving whipping cream, as the caramel will not thicken properly.
-
- Add the salt in small increments until it reaches your preferred level.
-
- Use a lower temperature for thinner saucepans when making the caramel.
- Add 1 teaspoon of lemon juice to 1 tablespoon of water right at the start.
- Go easy on the water—the sugar will not caramelize until the water has evaporated. If you add more, it will just take longer to get the sugar to brown. (This recipe takes 12 minutes.)
- Start with room-temperature butter and cut it into pieces so it melts faster. I use salted butter.
- Warm the cream for 30 seconds in the microwave to just above room temp (it will still bubble vigorously, but not as much)
- Use a decent 3-quart stainless steel pan (thicker bottom, no dark non-stick pans) If all you have is a thinner bottom pan, reduce the heat so the caramel doesn’t burn.
- Don’t stir (be patient). If you can’t leave it alone, push it around the pan once or twice, but you don’t need to.
- Go slow with the salt (cuz too much is too much). I use Diamond Crystal Kosher Salt, which is less salty than regular table salt, so I strongly recommend starting with only 1/2 teaspoon and adding from there.
Equipment
Nutrition
Simple Butter Pie Crust
Ingredients
- 2.5 cups all-purpose flour
- 1 teaspoon salt
- 2 tablespoons sugar
- 12 tablespoons butter
- ¼ cup ice water
Instructions
- Step 1: The key is super cold butter to work with. Place whole sticks of butter into the freezer for 30 minutes so it is colder than the refrigerator temp, not to freeze it.
- Cut the butter into 1/4-inch cubes and spread out on a plate. Put it back in the freezer to chill for another 15-20 minutes.
- While the butter cubes are chilling, fill an 8-ounce cup or bowl with ice and ¼ cup of water and set aside or in the refrigerator to let that water get very cold.
- Add the flour, sugar, and salt to a food processor. Pulse 2-3 times to mix the dry ingredients.
- Take the butter cubes out of the freezer and immediately add them to the food processor. Process until the butter is in small chunks throughout the flour mixture.
- Measure out ¼ cup of the ice water (with no ice) and sprinkle over the contents of the food processor. Process until the dough looks moistened but still crumbly, similar to a very dry cookie dough.
- Lightly flour an open surface and empty the dough onto it. Lightly press the dough into a loose ball, then flatten it slightly to about 6-inch diameter. Wrap the dough in plastic wrap to completely cover and refrigerate for at least 30 minutes or until you are ready to use it.
- Take the chilled dough out of the fridge, place it on a lightly floured surface and cut it so that one half is a little larger. Roll the larger piece evenly into a circular shape with ¼” thickness. Fit into the baking pan with a ½-inch overhang, and cut off the excess. Use the remaining dough to make the top crust strips.


Chef Mimi says
This is fabulous! Makes me wish I baked.