These Fresh Cherry Turnovers are a real treat made with sweet cherry filling and the buttery crispness of whole wheat pie crust, all topped off with a drizzle of sweet icing. We healthify this recipe with whole wheat flour in the crust and less sugar in the filling, but it still satisfies as a treat should.
Of course, we love cherry pie, but for those of us who want more crust than filling, turnovers or hand pies are the way to get our cherry dessert fix.

Wait, is it a turnover or a hand pie?
Technically, turnovers are traditionally made with puff pastry, and hand pies are made with pie crust dough (like this recipe) or even breadier type dough. The sturdier crust is better for thicker, more substantial fillings. Both turnovers and hand pies come in various shapes and sizes and can be sweet or savory.
Even still, you’ll find the terms used interchangeably, and I think it depends on where you grew up and what your mom called them. This is why I call these turnovers—because that is what my mom called them.
The idea is to make something delicious that you can pick up and eat with your hands without a plate. You can call it whatever you like.
The Prize Within: Fresh Cherry Filling
At the heart of every cherry turnover is the filling—a mixture that is sweet and slightly tart. We combine the natural flavors of cherries with a bit of sugar and a whisper of almond extract, thickened just right with organic cornstarch (non-GMO).
By using less sugar and water in the recipe, you end up with more fruit and less filler. You can use this same recipe to make a crisp if you like!
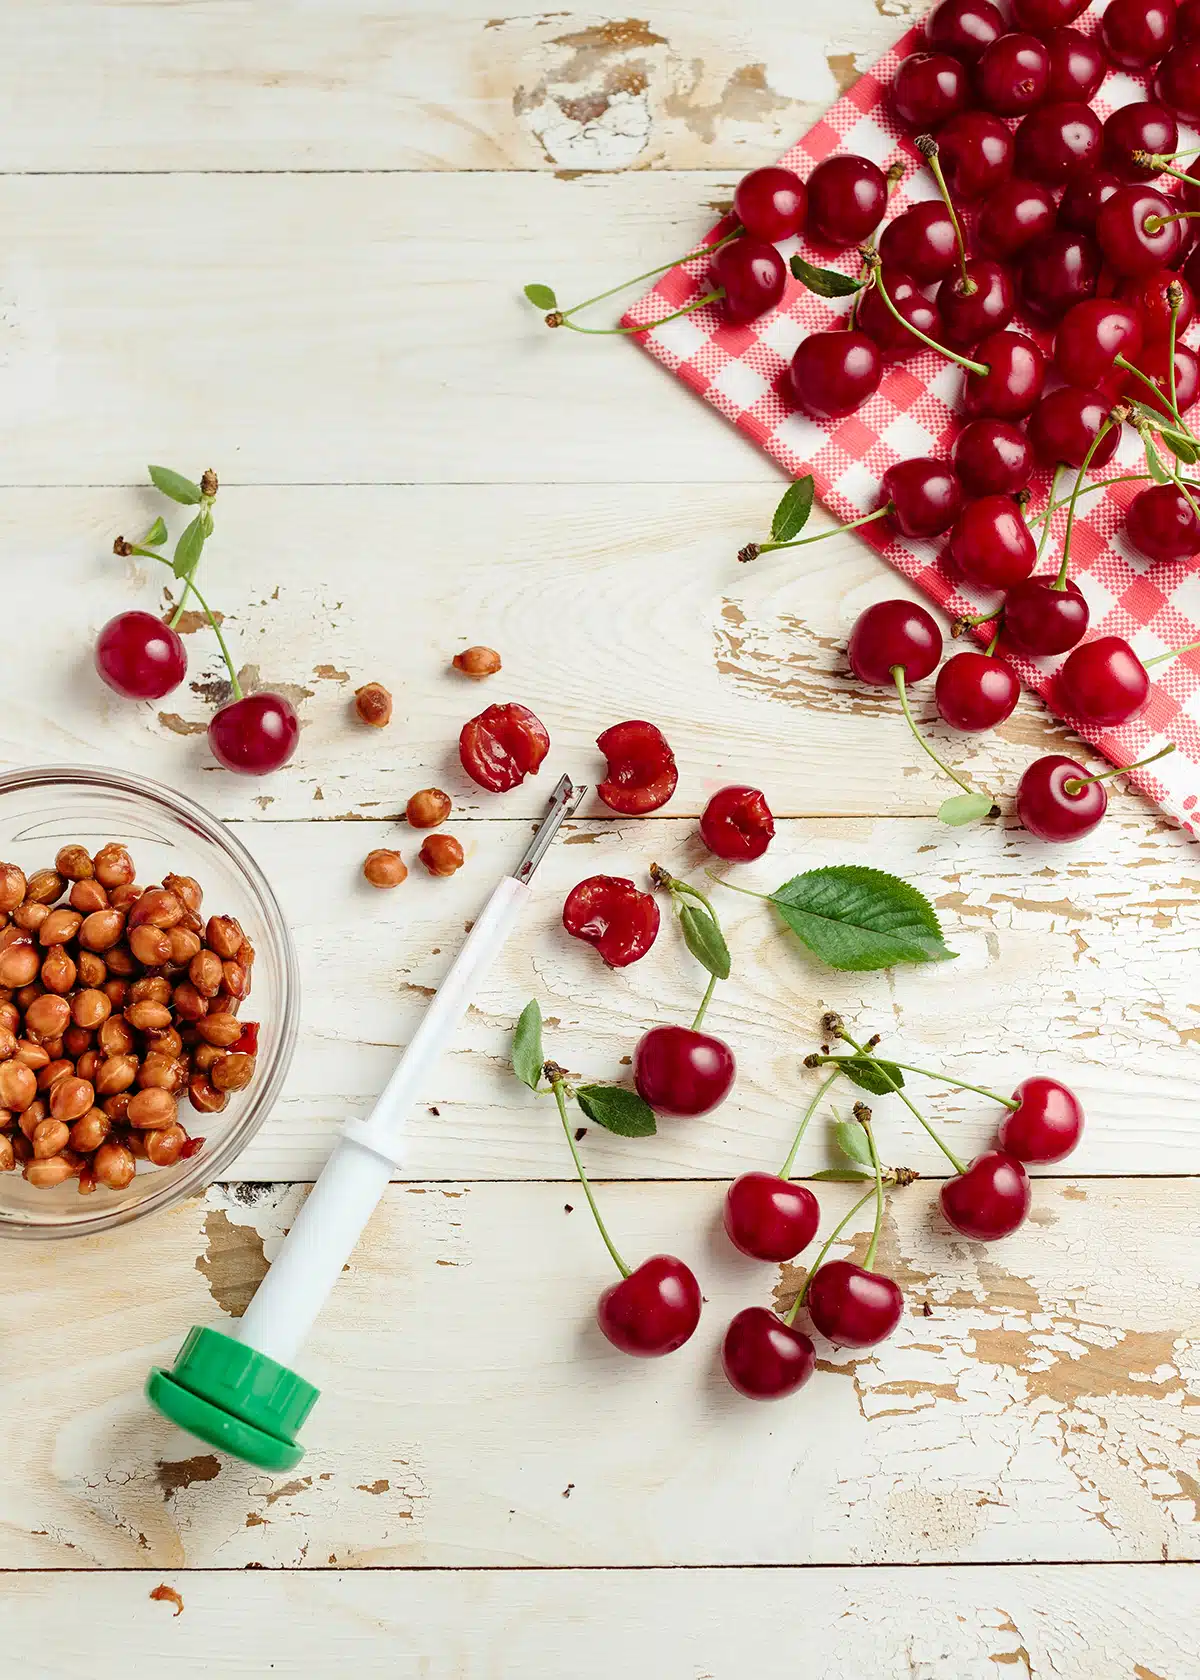
The Charm of Fresh Cherries
Our friends gave us cherries from their tree, inspiring this delicious recipe. Fresh, local produce is the highlight of summer for me—I love the idea of food that is only hours from the vine.
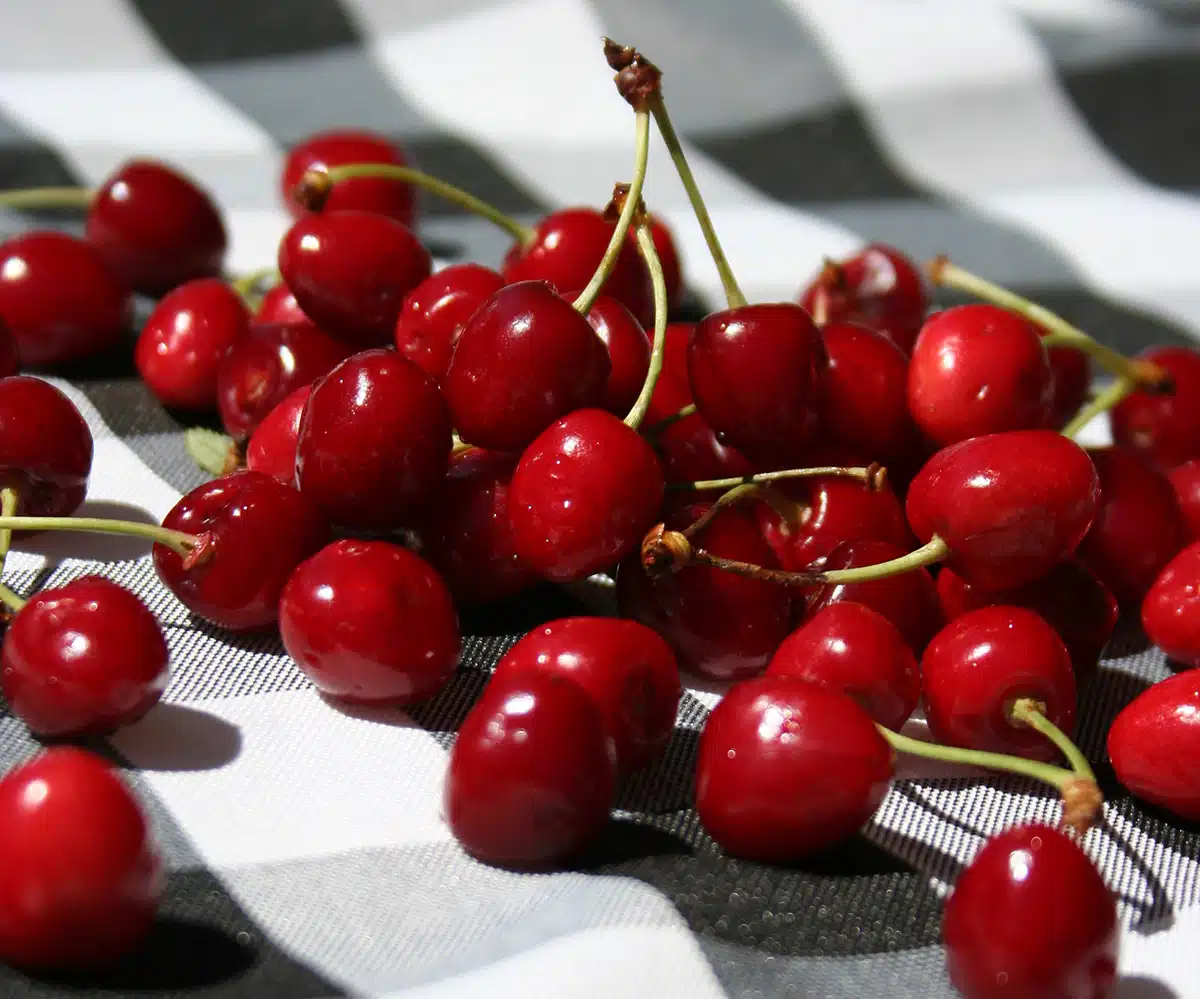
The cherries used for this recipe are a sweet-tart variety that needs a little sugar to sweeten them up. If you use sweet cherries, like most of those sold in markets, you may reduce the sugar in the recipe for the best flavor.
When you make a fruit filling at home, you have more control over the consistency and sugar content. Fruit ripened on the tree requires less sugary syrup.
This post may contain affiliate links. See our disclosure policy for more information.
Types of fresh cherries and how to use them:
- Sweet Cherries—lemon juice is essential to balance the flavor, and you may want to adjust the sugar.
- Tart Cherries—omit the lemon juice or add it after tasting the filling during cooking.
- Frozen Cherries—thaw them completely first and then drain off all of the excess liquid before you make your filling.
I am open to using canned fruit for cherry turnovers, especially if I do not have the time to pit, peel, or prepare fresh fruits. However, when I get the chance to have cherries picked at their peak, that is an easy “yes,” regardless of the extra prep.
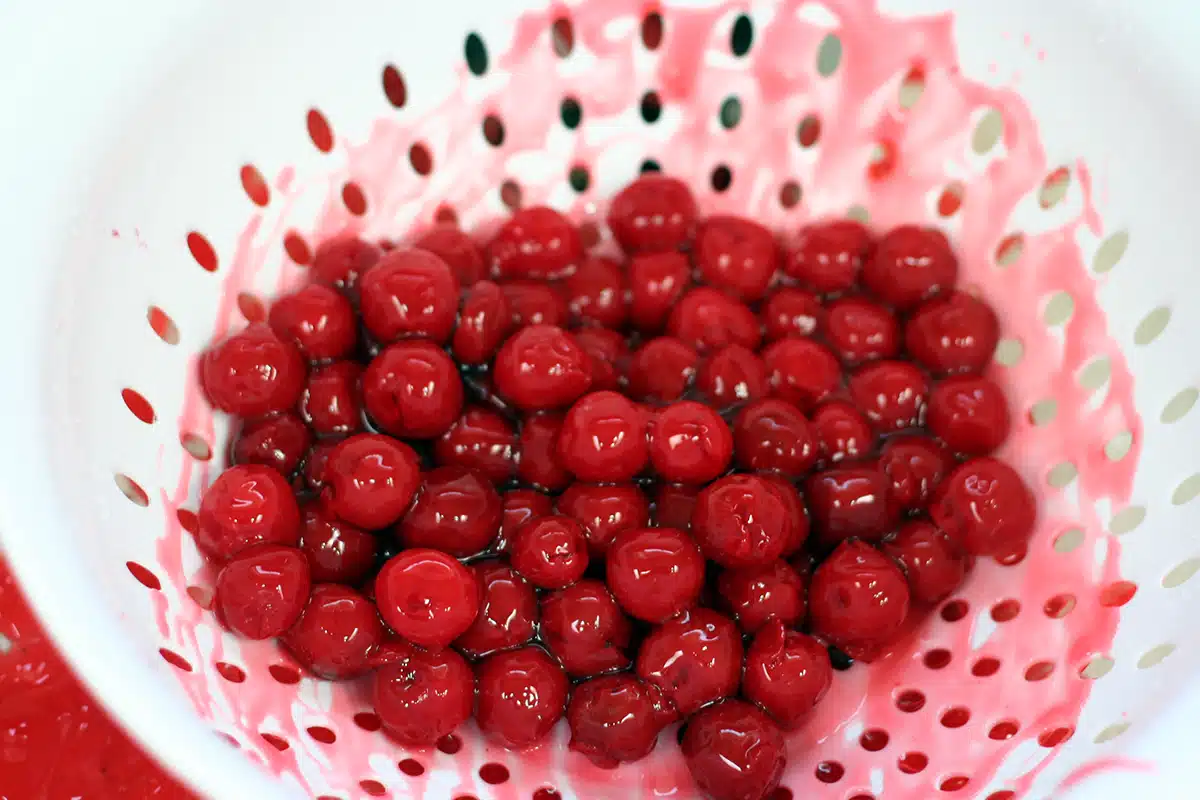
When I do use canned fruit (like for my Cherry Christmas Stollen), I use Comstock More Fruit Pie Filling and remove much of the syrup through a colander.
Top Five Ways to Pit Cherries
Before you start, prepare your workspace or surface with a cutting board to avoid any counter stains from the cherry juices. An apron and kitchen gloves are handy here, so you don’t stain your clothes or hands. Removing all the stems before you begin will make the process even faster.
- Use a cherry pitter tool for the best way to remove the pit without sacrificing the fruit.
- Using a Straw or Chopstick: Hold a cherry between your fingers, and position the straw or chopstick at the stem end of the cherry. Gently but firmly push the straw or chopstick through the cherry where the stem was. The goal is to push the pit out of the other side.
- Use a large paper clip by unfolding it, pushing the larger end into the stem dimple, and scooping out the pit. (This can be a little messy.)
- Use a pastry tip, as shown in this tutorial from Pioneer Woman.
- Use a paring knife to slice the cherry around the pit, peel it open with your fingers, and use the tip of the paring knife to pop out the pit.
Whole Wheat Pie Crust
Any pie crust recipe or ready-made crust can be used for these turnovers. However, a whole wheat butter crust has superior flavor and avoids the trans-fats of shortening used in store-bought varieties. (I did find butter pie crust at Trader Joe’s that I use occasionally.)
Butter crusts are a little more delicate to work with during the summer, requiring some refrigerator time to maintain their workability, but the extra effort is well worth it.
For a gluten-free alternative, check out our Oat Flour Pie Crust too.

The Finishing Touch
No cherry turnover is complete without a touch of icing. This sweet finish not only adds to the visual appeal of these pastries but also balances the tartness of the cherry filling. We add a little almond extract to our icing, but you can use vanilla if you prefer.
TIPS & Variations:
- Cut smaller circles on the dough to create smaller portioned turnovers for kids (easier to hold)
- Substitute vanilla extract for the almond extract
- Use canned cherry filling for the fresh filling (strain off some of the syrup as noted above)
- Use store-bought pie crust instead of the whole wheat crust recipe
- Substitute blueberries or apple filling for the cherries
Fresh Cherry Turnovers
Ingredients
Cherry Filling
- 2 cups fresh cherris , pitted
- 1/3 cup sugar
- 1/3 cup water
- 1 1/2 tablespoons cornstarch
- 1/4 teaspoon almond extract
Pie Crust: (2 crust pie recipe)
- 1 cup all-purpose flour
- 1 cup whole wheat flour (King Arthur White Whole Wheat)
- 1 teaspoon salt
- 1 teaspoon cinnamon
- 2/3 cup butter
- 2 tablespoons sugar
- 4-5 tablespoons icy cold water
Icing:
- 1 cup powdered sugar
- 2 tablespoons milk
- 1/4 teaspoon almond extract
Instructions
- Preheat oven to 425°. In a saucepan, combine pitted cherries with the water, sugar, cornstarch and almond extract. Over med-high heat, stir to combine and bring to a boil. Reduce heat to low and simmer 6-8 minutes, stirring frequently, until thickened. Cool completely before using.
- Mix flours, salt, cinnamon, and sugar. Cut the cold butter with a knife into small cubes. Work the butter into the flour mixture with a pastry tool or work the butter through the fingertips until particles are size of small peas.
- Sprinkle with water, 1 tablespoon at a time, tossing with fork until all flour is moistened and pastry almost cleans side of bowl. Once the water is added it is important to not overwork the dough.
- Place the dough in the refrigerator for 5-10 minutes to keep the butter in the dough from becoming too warm.
- Divide pastry in half allowing half to remain in the refrigerator to keep the butter cold. Roll half of the pastry dough onto a lightly floured surface to 1/8″ thickness. Cut circles of 6 inches in diameter.
- Using a pastry scraper or lasagna spatula, slide the scraper under the dough to release it from the counter (this will make folding it over the filling easier). Repeat with remaining dough.
- Spoon approximately 1/2 cup of the filling into the center of the circle of pastry; fold pastry dough over the filling and seal with a fork along the edges.
- Place on a parchment lined baking sheet leaving 2″ of space between each turnover. Bake for 10-12 minutes or until lightly golden brown. Cool on wire racks.
- Prepare icing by mixing powdered sugar, milk, and extract until well blended; set aside until turnovers are cooled. Drizzle icing on the turnovers as desired. Serve with a side of vanilla ice cream.


Joan says
These little pies make the best dessert and so much better than the pies my mom would buy.